Introduction
Our scope in this article, is to create PMTiles from vector data on windows system without any complicated system dependencies.
We discussed in a previous article, Creating PMTiles from Vector Data but using tippecanoe tool by setting up WSL : https://blogs.tabaqat.net/en/generating-pmtiles-from-vector-geospatial-data-using-tippecanoe-and-go-pmtiles-tools
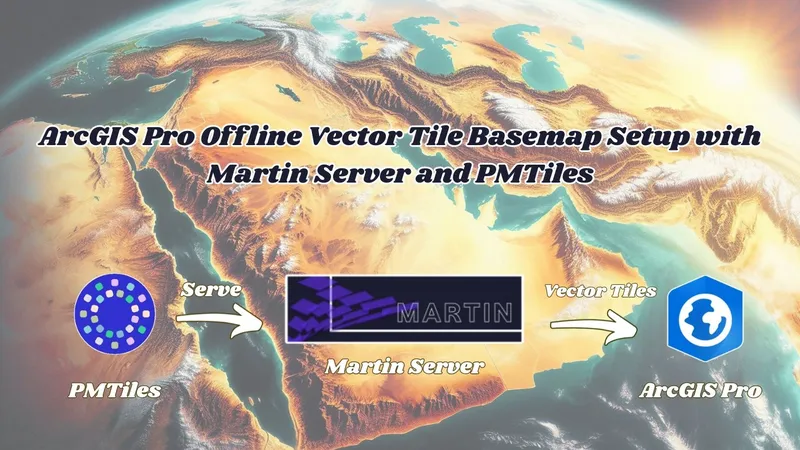
Through this article, we will explain the workflow of converting vector data into ArcGIS Pro to Vector Tile Package, then converting it to MBTiles Using vtpk2mbtiles tool and finally converting MBTiles to PMTiles using PMTiles CLI.
Technical Guide
We will start from ArcGIS Pro, using the data that will be converted to vector tile package (e.g. Points of Interest of Madina Region), We will choose Create Vector Tile Package tool from Analysis Tools.
Then, we need first to set the description of Map that is required for running the tool.
After setting the metadata of Map, We can run the tool by setting the required parameters and choosing weither we need to package the data ArcGIS Online, Bing Maps and Google Maps or not.
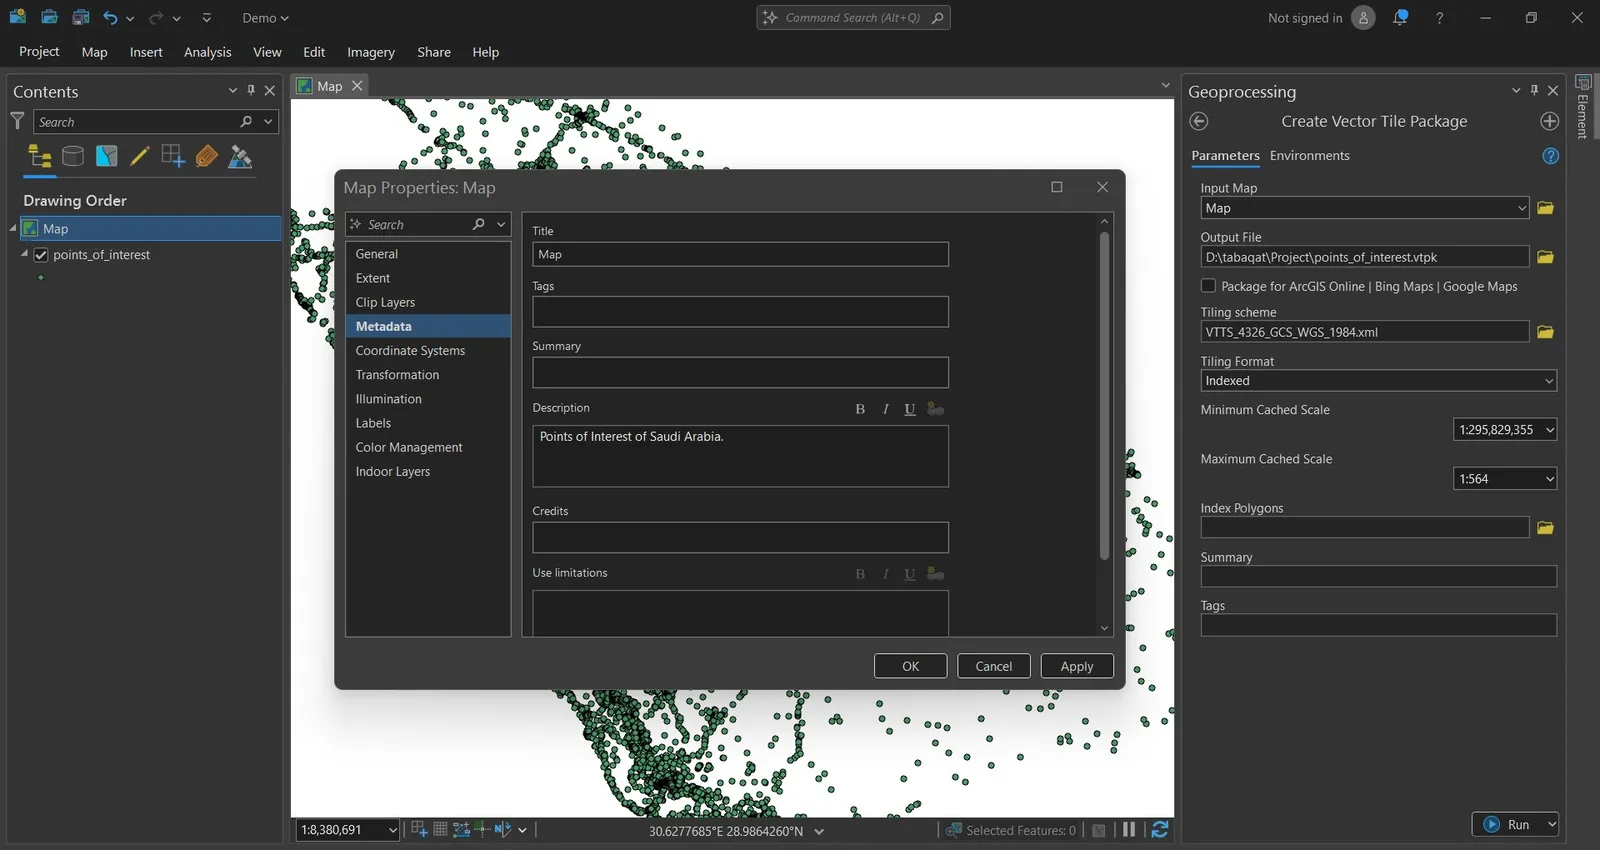
After running the tool, a ".vtpk" file will be created at output vector tile package location.

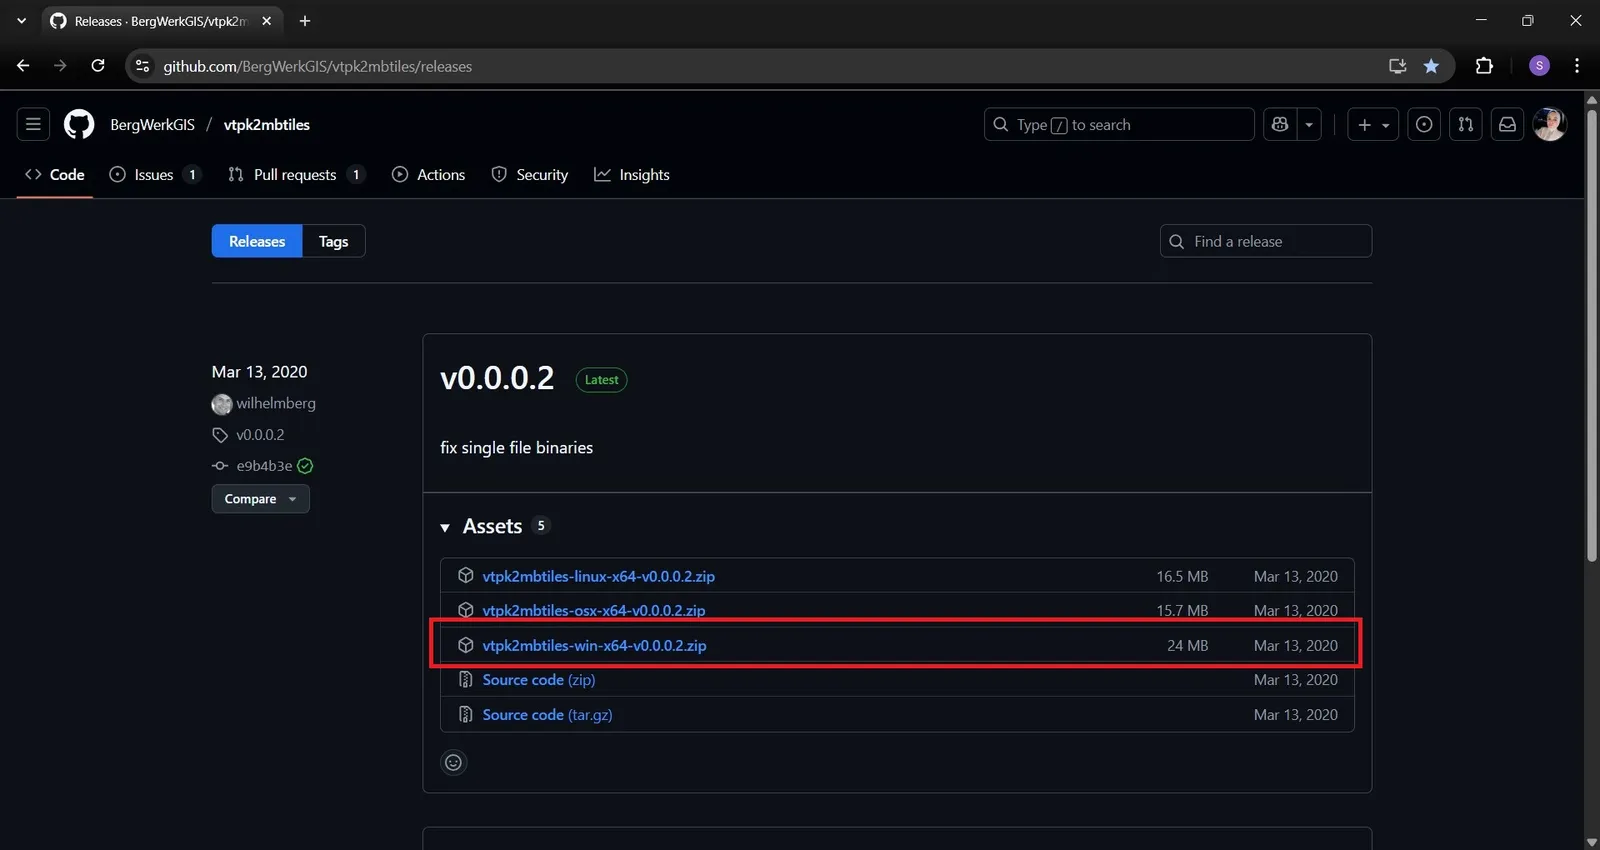
The next step is to convert .vtpk file to MBTiles using vtpk2mbtiles tool which convert ESRI's Vector Tile Package (VTPK) to mbtiles : https://github.com/BergWerkGIS/vtpk2mbtiles.
We can access it by installing windows release from here : https://github.com/BergWerkGIS/vtpk2mbtiles/releases.
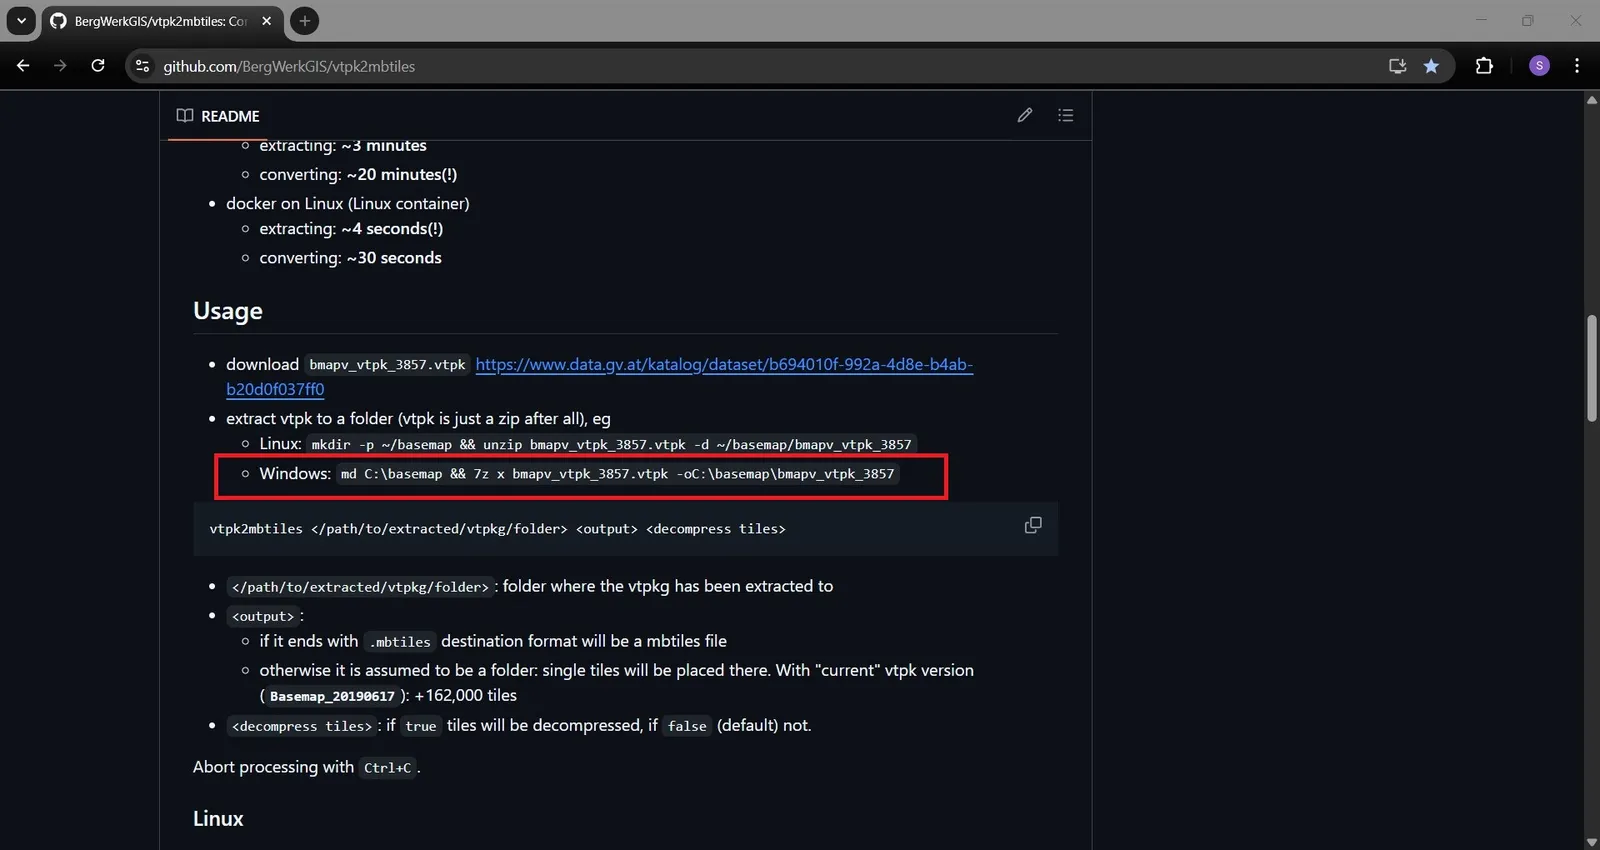
Then, we need to extract ".vtpk" file to a folder to convert it to MBTiles by running these commands according to documentation :
md C:\basemap && 7z x bmapv_vtpk_3857.vtpk oC:\basemap\bmapv_vtpk_3857
We can navigate to output "points of interest.vtpk" file directory and open command prompt and run the following command to extract the file :
mkdir D:\tabaqat\Project\points_of_interest_vtpk
tar -xf D:\tabaqat\Project\points_of_interest.vtpk -C D:\tabaqat\Project\points_of_interest_vtpk
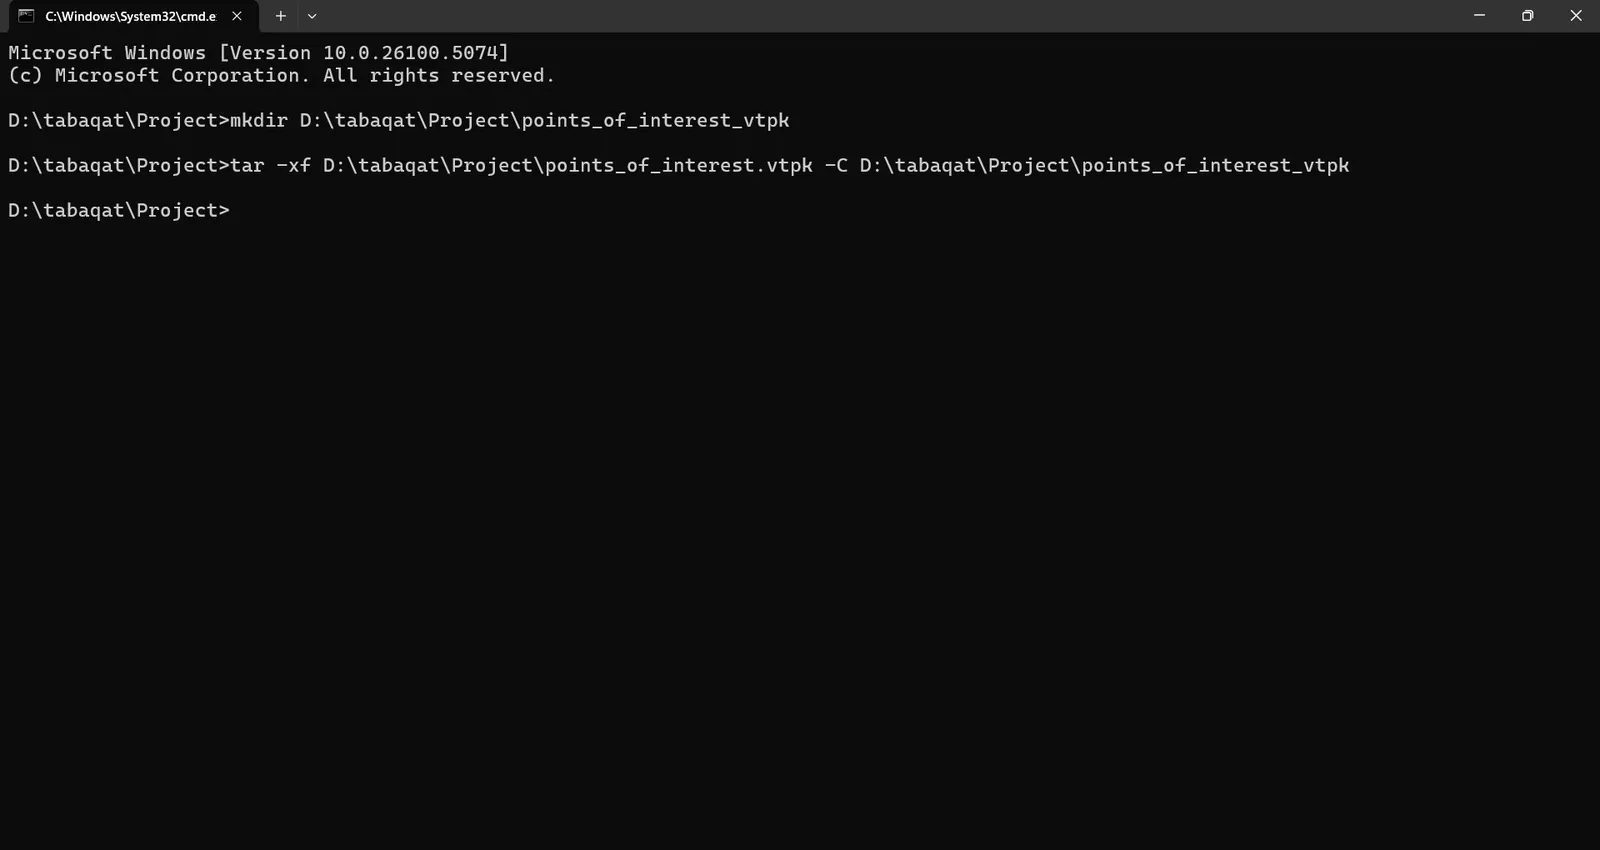
The ".vtpk" file will be extracted to a folder in the same directory.

After extracting the file, we should navigate to the downloaded vtpk2mbtiles release folder that contains vtpk2mbtiles.exe file and run this command in command prompt to convert the file to MBTiles according to the documentation :
vtpk2mbtiles.exe D:\tabaqat\Project\points_of_interest_vtpk D:\tabaqat\Project\output.mbtiles false
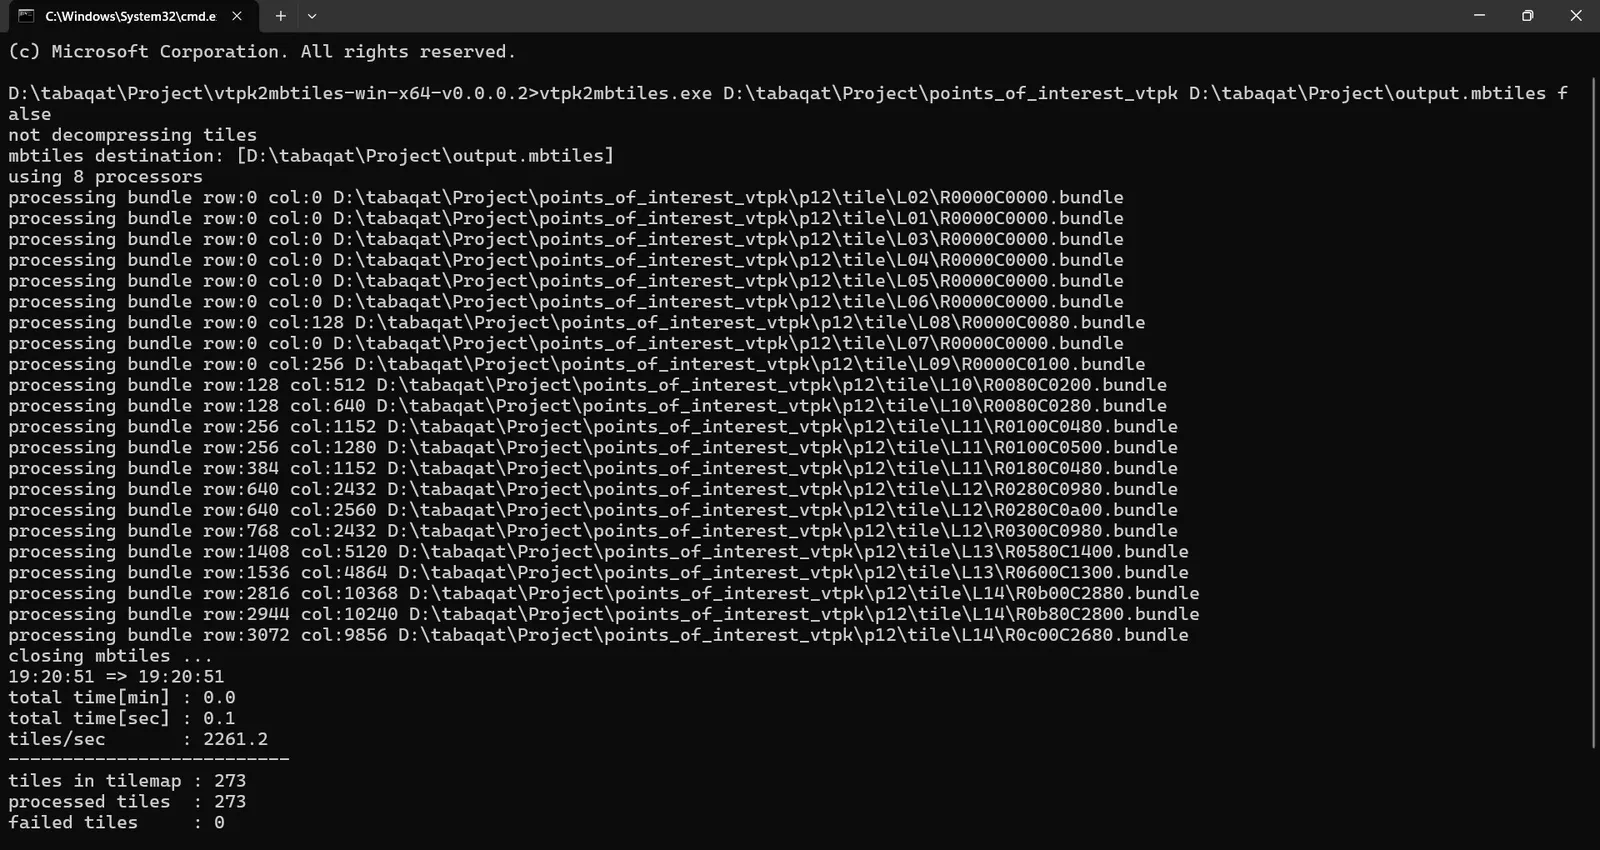
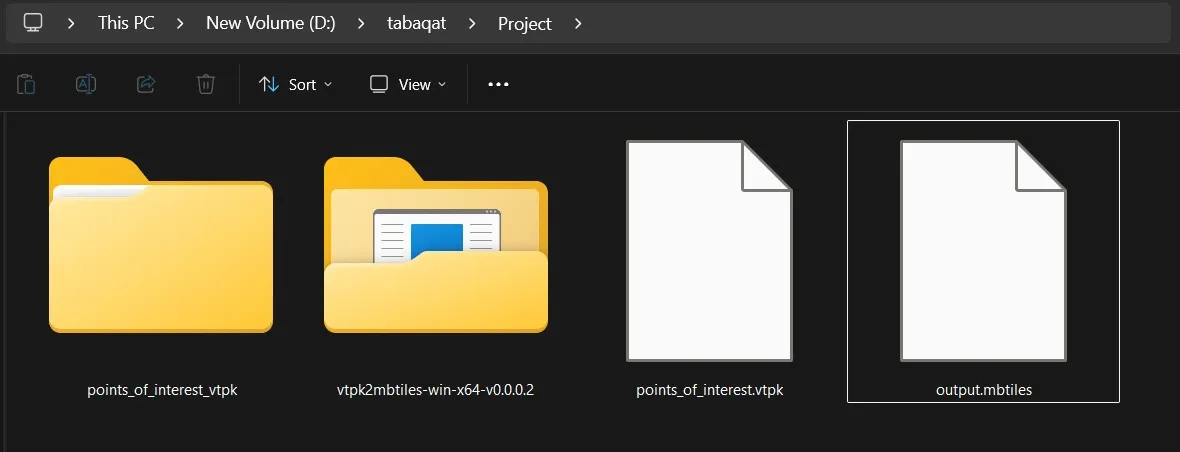
A MBTiles file will be generated in output folder.
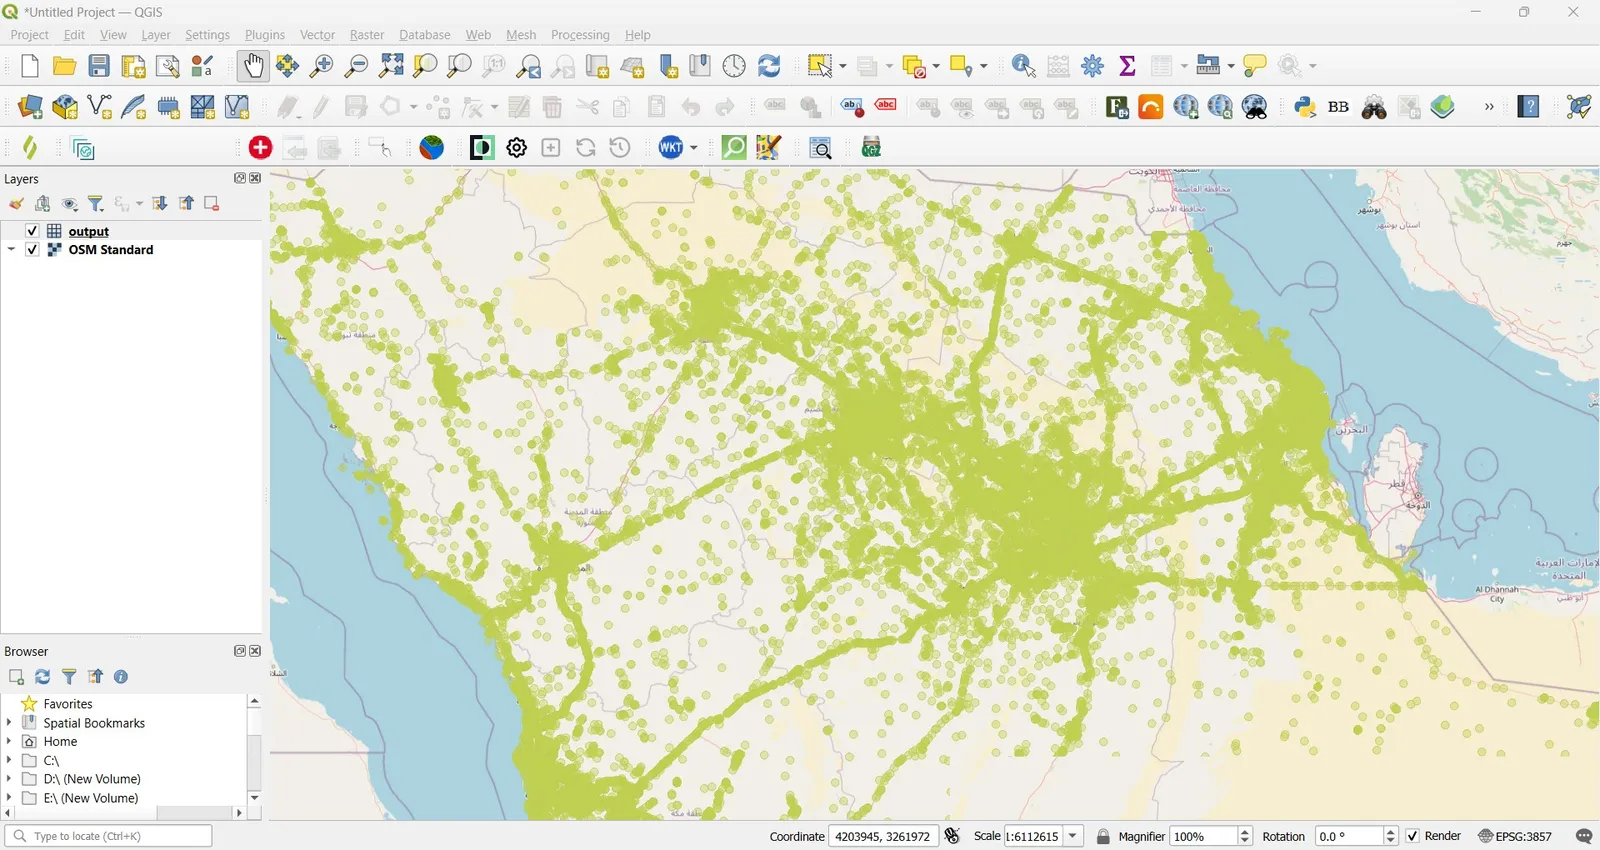
We can check the correct generation of MBTiles file by opening it in QGIS.
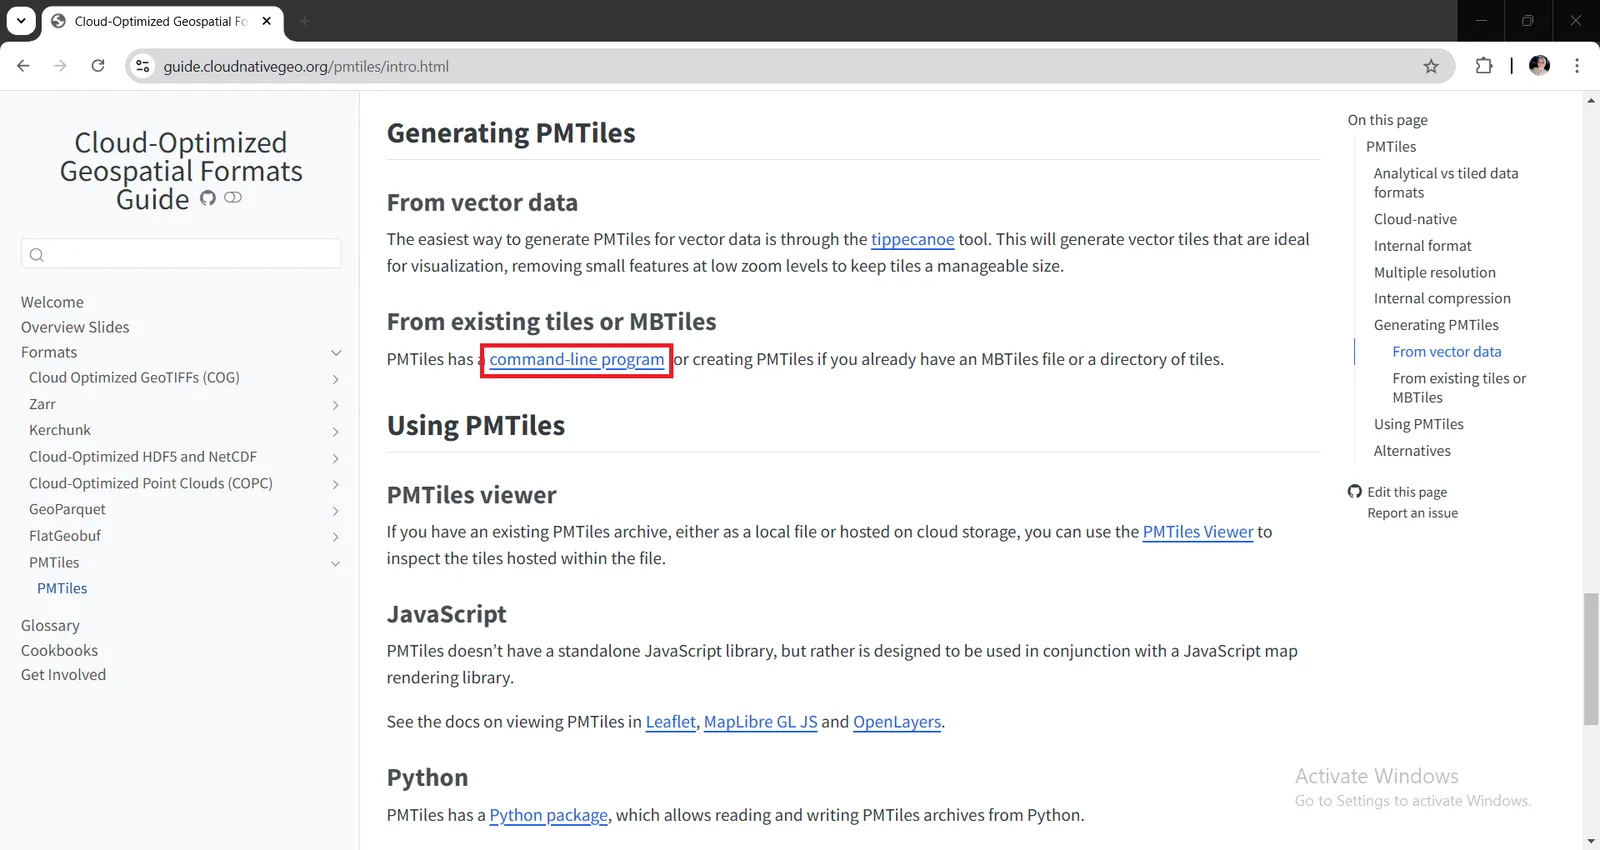
The final step is to convert MBTiles to PMTiles by PMTiles CLI as we discussed in a previous article.
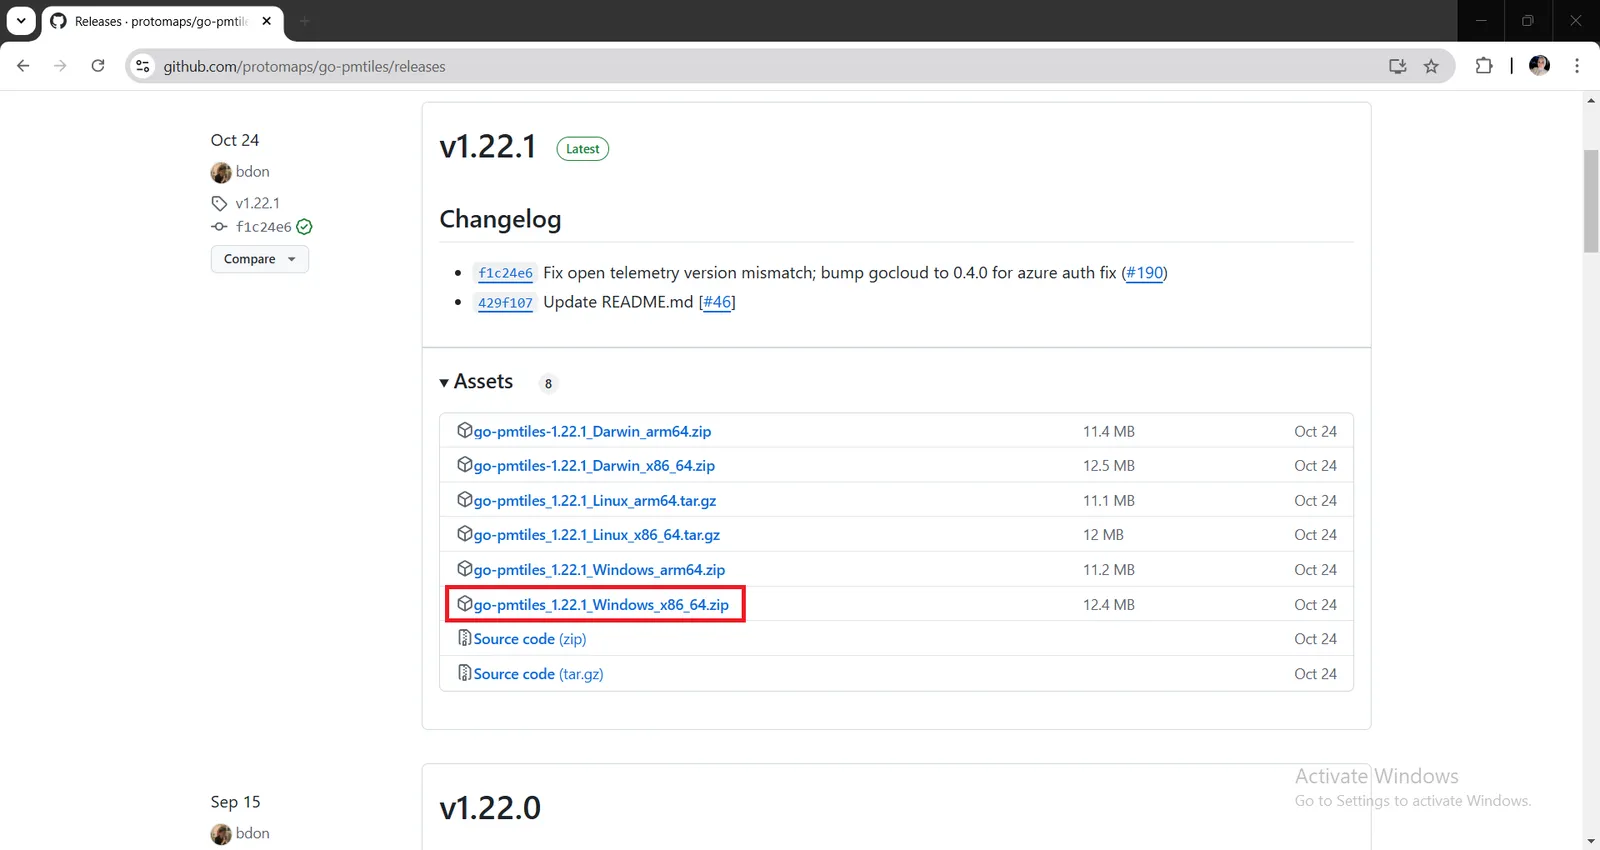
We need to install the command line program which is called go-pmtiles from here https://github.com/protomaps/go-pmtiles/releases.
Click on Releases to install Windows system compatible version go-pmtiles_1.22.1_Windows_x86_64.zip on your device and finish installation steps as default.
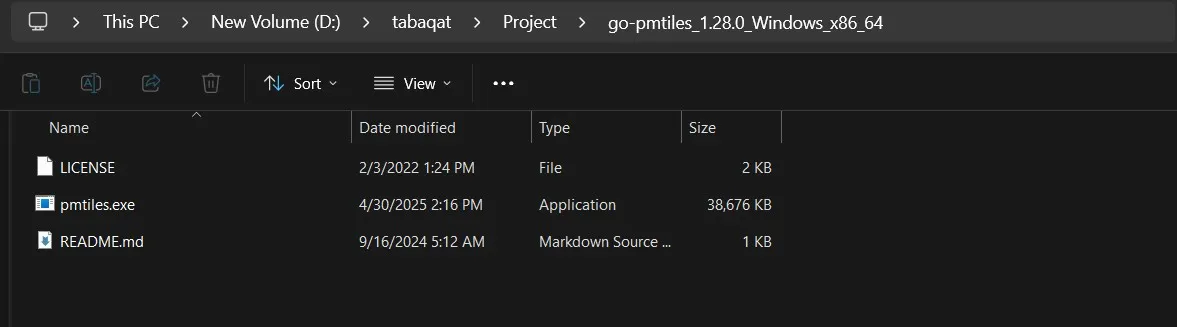
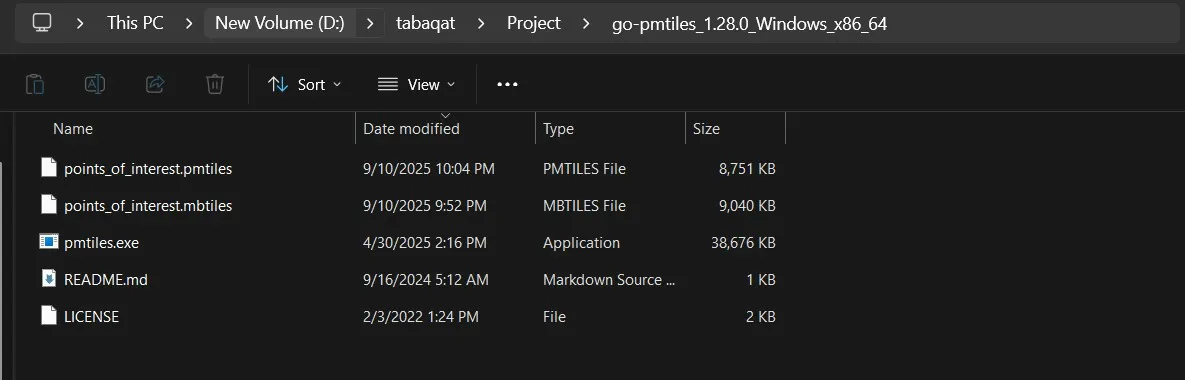
Open the directory containing go-pmtiles it will contain pmtiles.exe, README and LICENSE files as shown here.
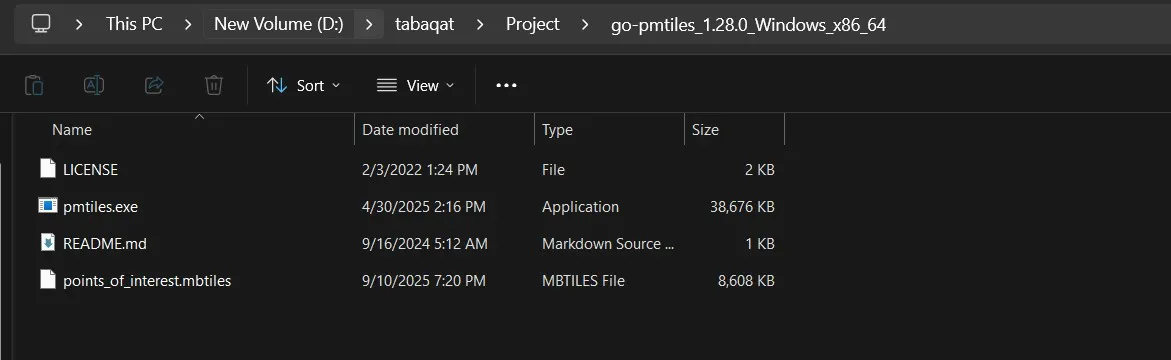
Locate the generated MBTiles in the same directory containing go-pmtiles binary, and ensure add this directory to your system's PATH environment variable to run go-pmtiles from any location.
Open command prompt in the same directory and run this command to convert MBTiles to PMTiles using PMTiles CLI tool.
"pmtiles convert input.mbtiles output.pmtiles"
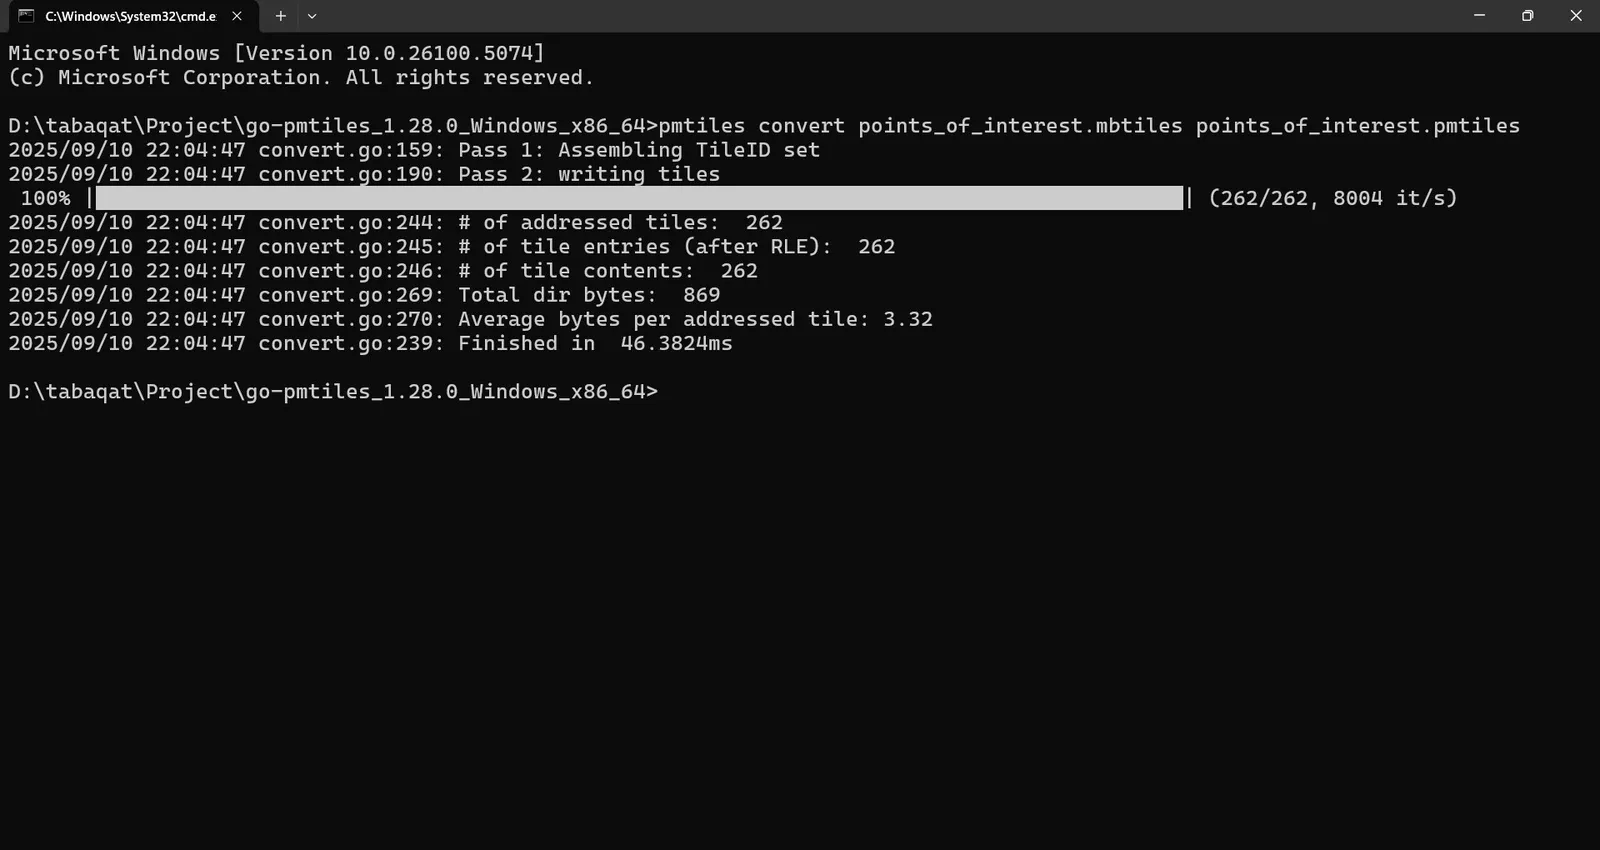
A PMTiles file will be generated in the same directory by finishing the conversion process.
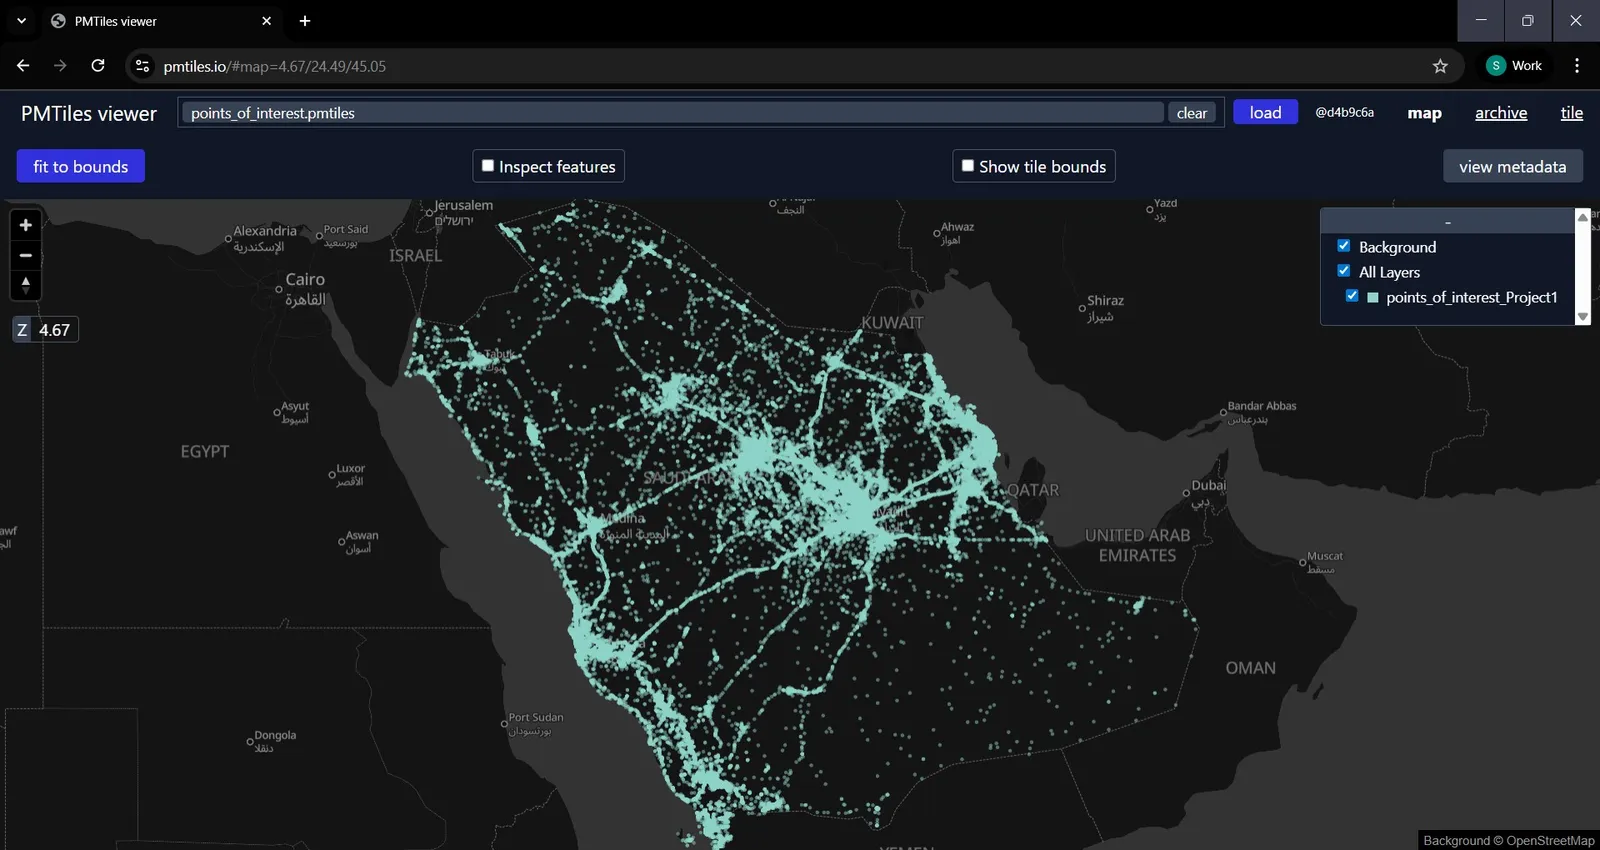
You can preview the output PMTiles File using https://pmtiles.io/ to inspect the tiles hosted within the file.
Conclusion
By reaching this phase, we have generated successfully PMTiles from Vector Data in ArcGIS Pro by creating vector tile package, then converting it to MBTiles by vtpk2mbtiles tool and finally converting MBTiles to PMTiles By PMTiles CLI (go-pmtiles) tool.