Learn how to effortlessly share and collaborate on spatial data by uploading GeoParquet files to the Source Cooperative Platform. This article provides a step-by-step guide for seamless integration, enabling you to maximize the value of your geospatial data.
GeoParquet files which can easily be converted from CSV files using QGIS Desktop as we explained in a previous article : Converting Kaggle CSV Files into GeoParquet Files Using QGIS
And before starting of explaining the workflow of uploading GeoParuet file onto Source Cooperative Platform. We have to give a brief summary about Source Cooperative Platform ;
Source Cooperative allows data providers to publish data on the web without needing to run their own server, create a data portal, an API, or a dashboard. In plain English, this means we allow people to upload files to a repository in source coop and then get a URL that they can share with other people.
To upload GeoParquet File displayed on Map in QGIS Desktop, We will follow some steps :
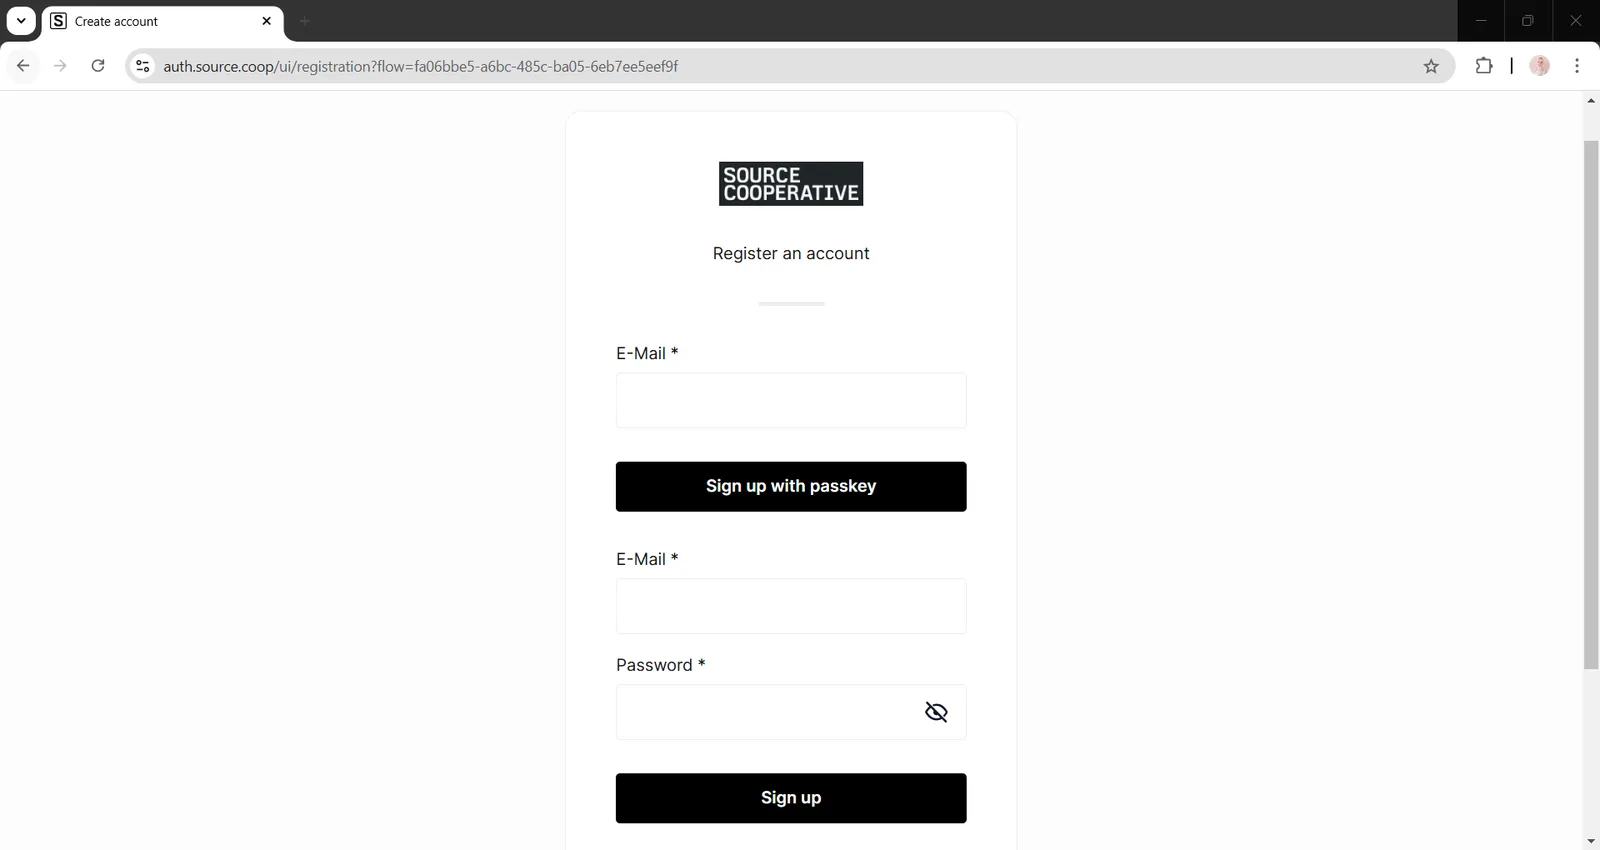
1. Sign Up to Source Cooperative to create an account on the platform.
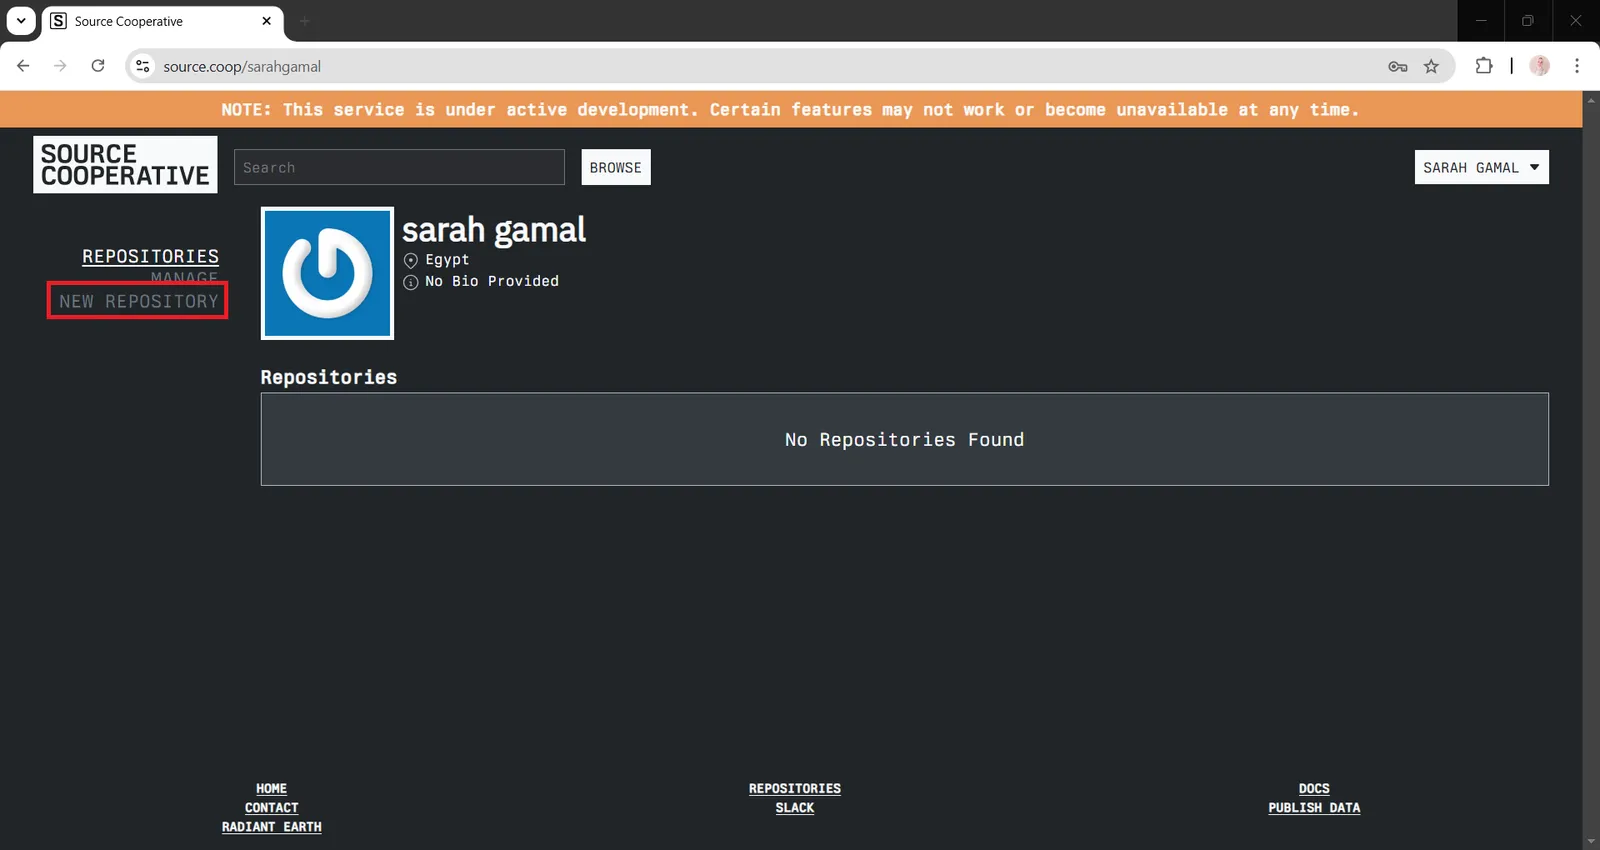
2. After creating an Account, You need to create a New Repository to allow you to upload data on the Platform.
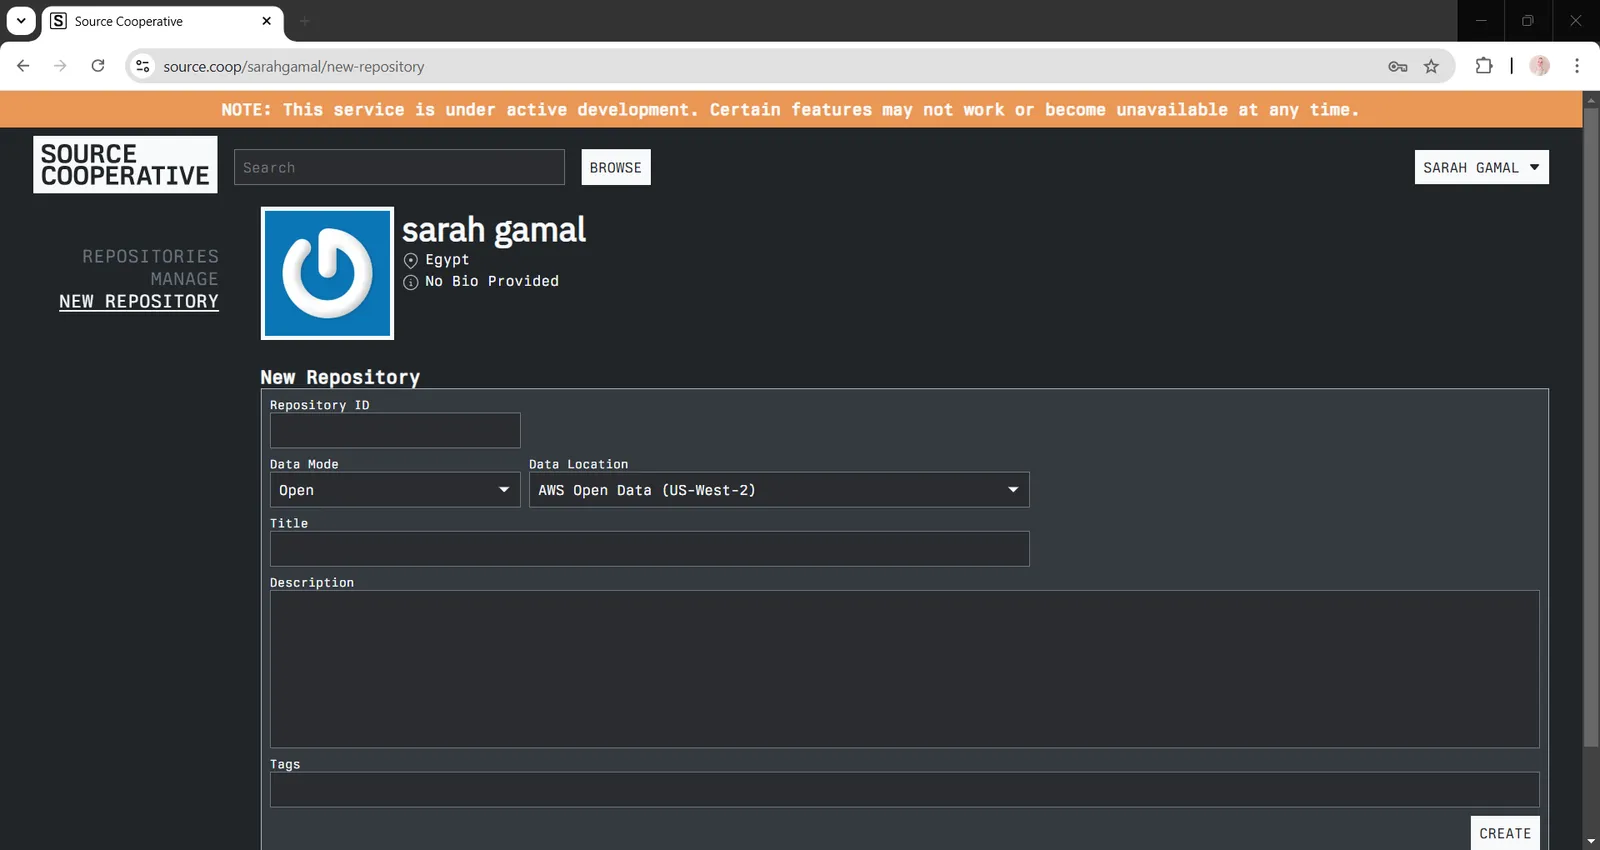
3. Fill the required fields to create a new repository like : “ Repository-ID, Title, Description, Tags “
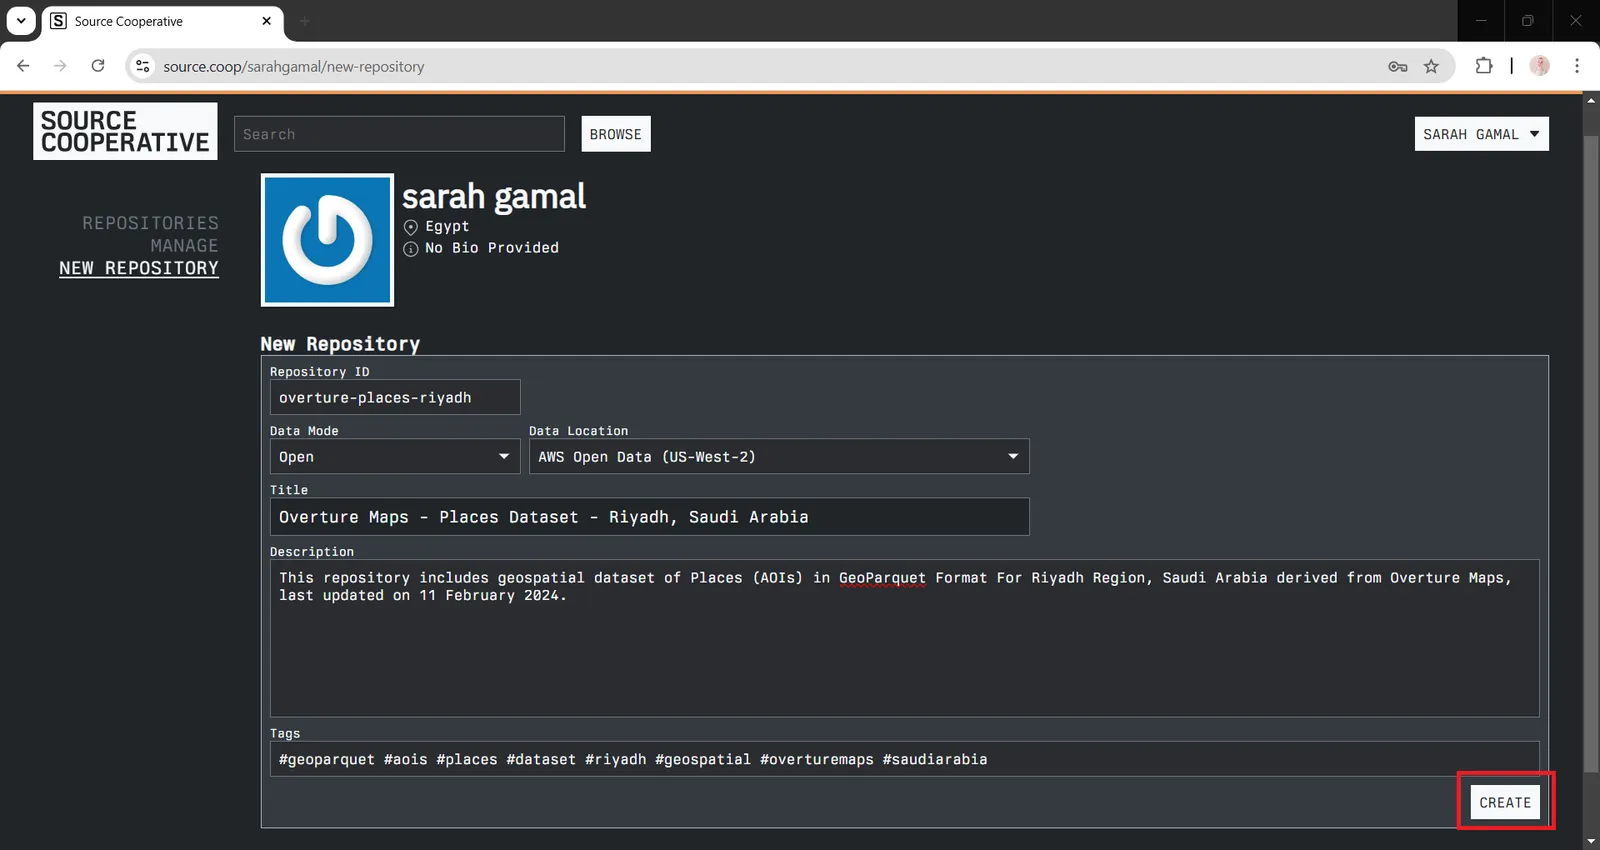
4. After filling all fields with the Repository, click “Create” to create a new repository on the Platform.
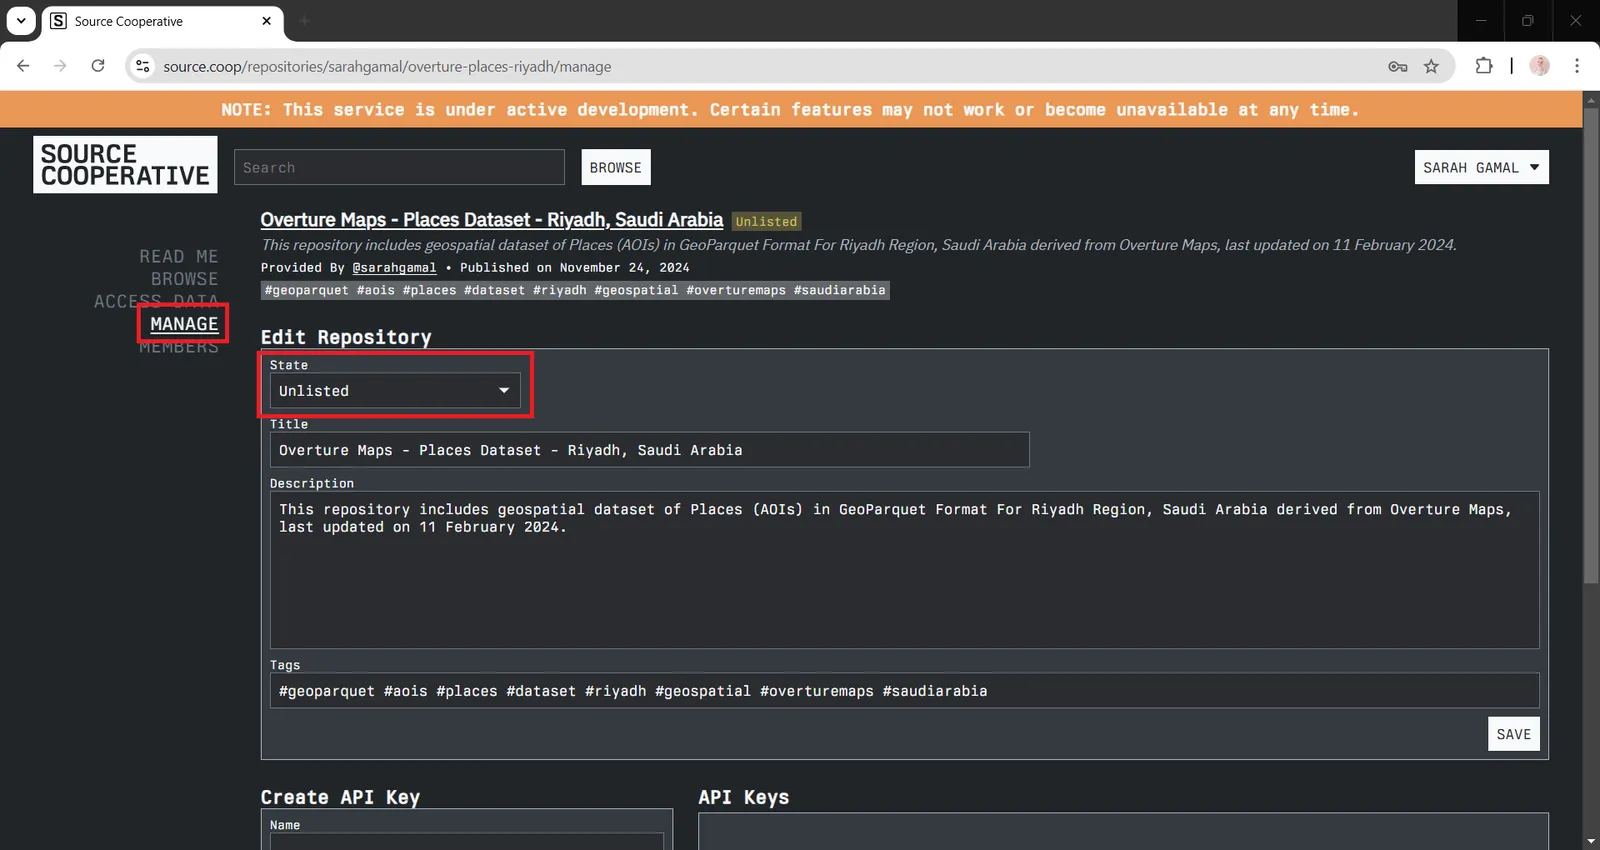
5. You can Manage the created repository to change its mode and Choose whether you want it to be “ listed or unlisted “
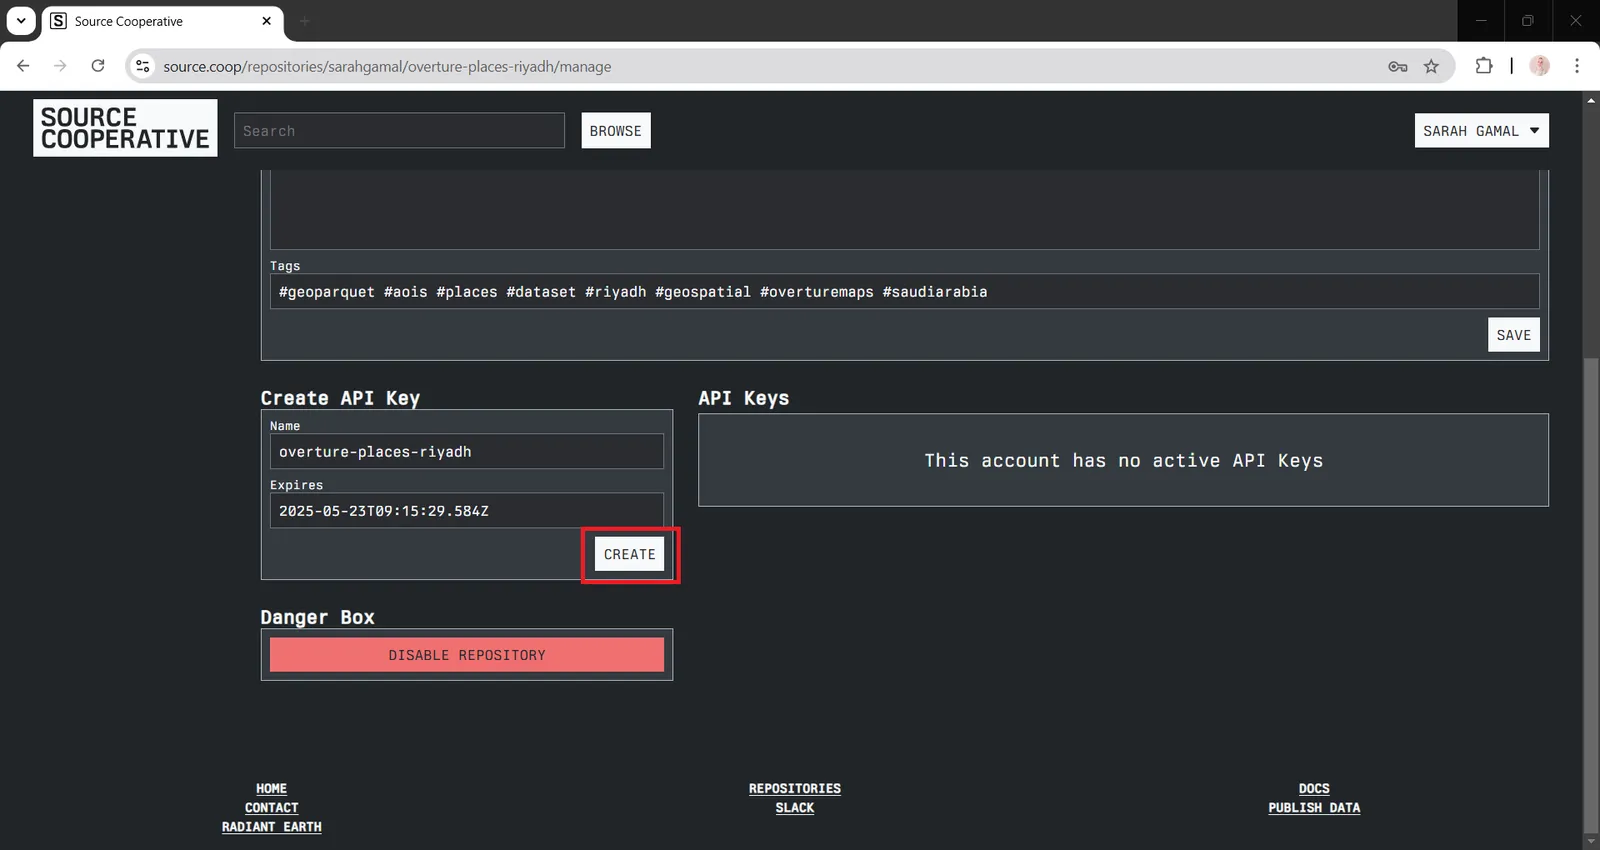
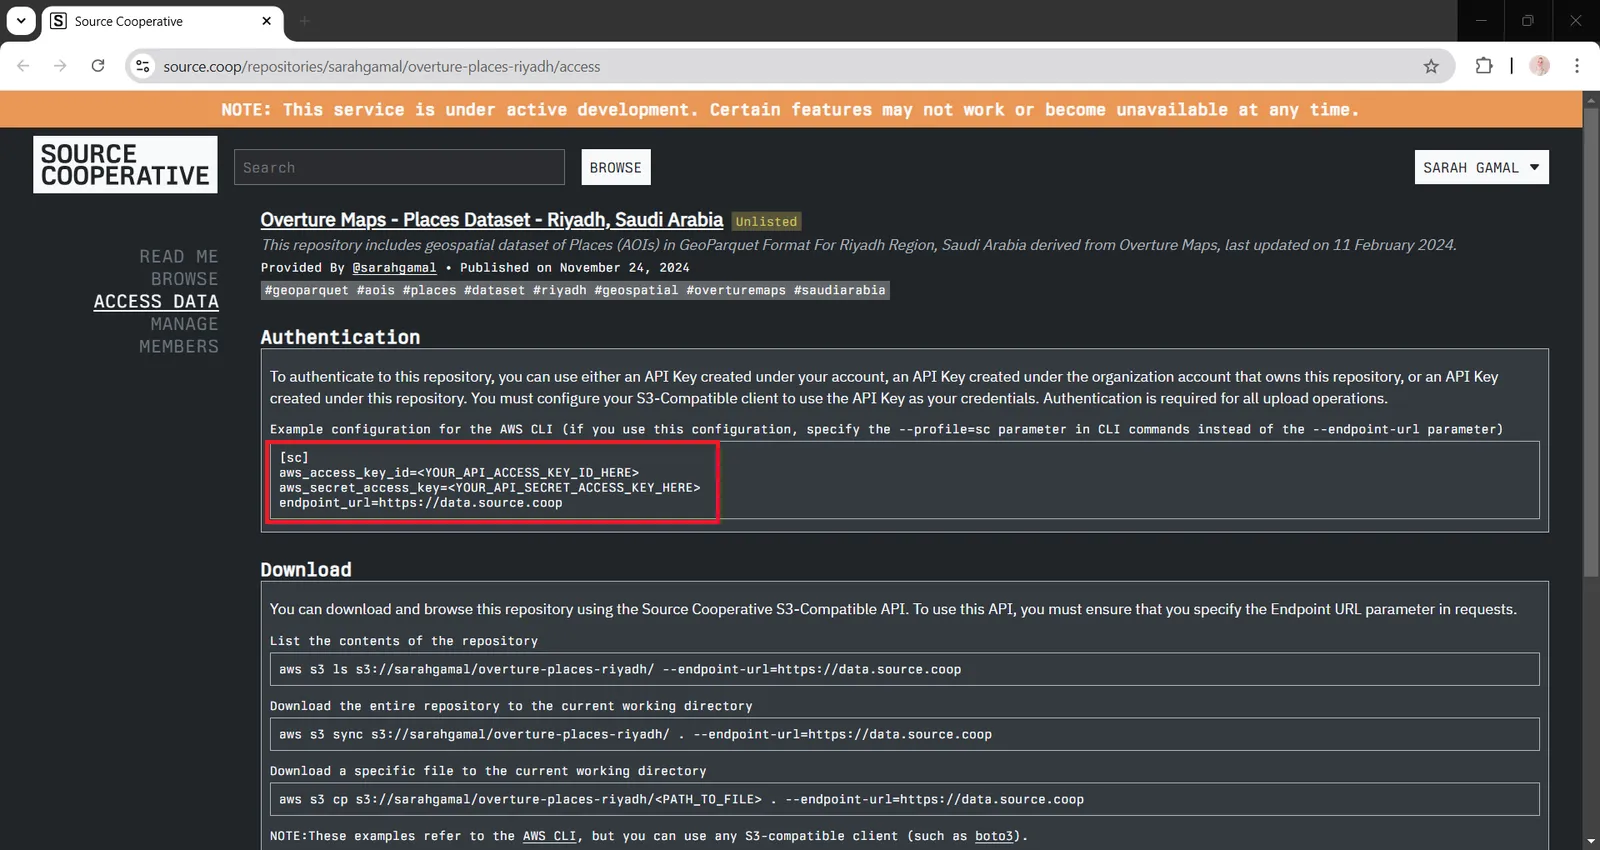
To Upload the GeoParquet file to the repository on Source Cooperative, You need to create API Key to generate Credentials to upload the file.
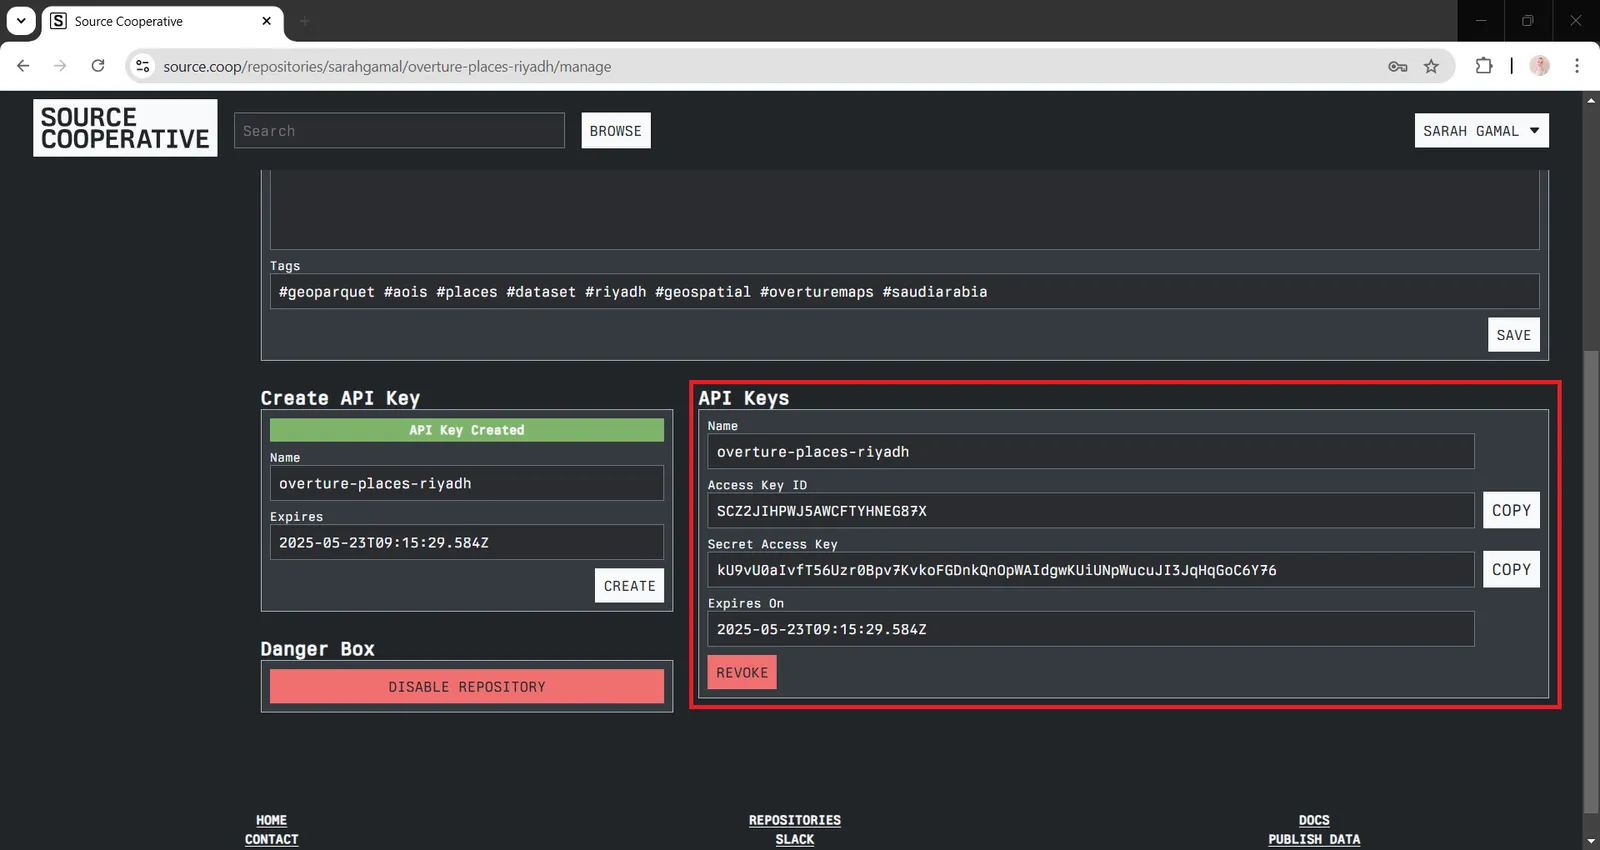
New API Keys will be generated like this in the image below :
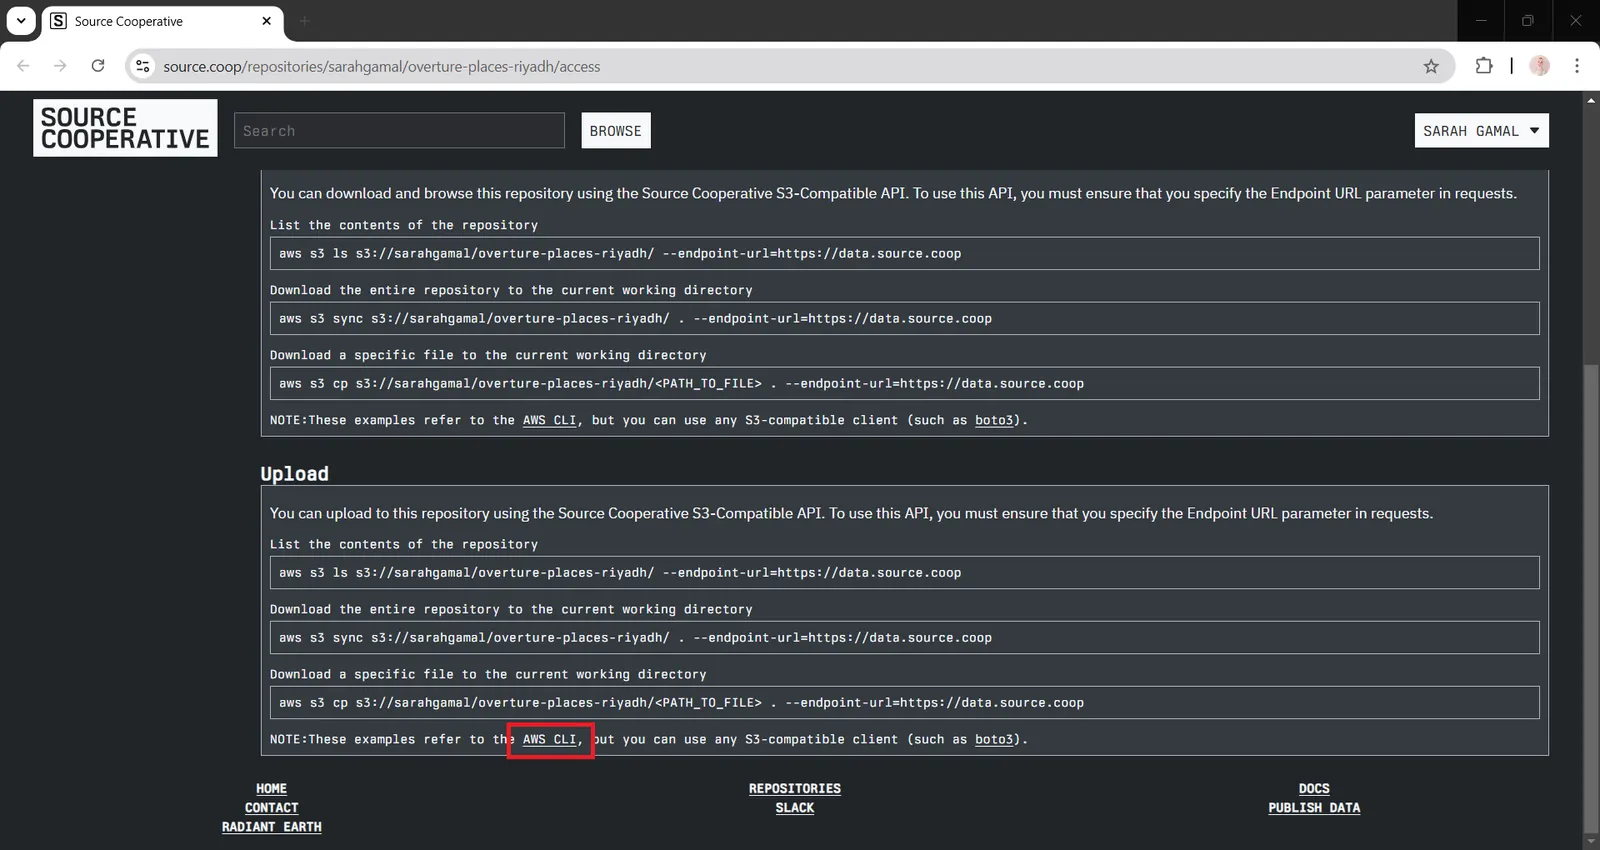
7. To allow yourself to use the generated credentials to upload data to the repository, You need first to download “AWS CLI tool” and the download link is available here :
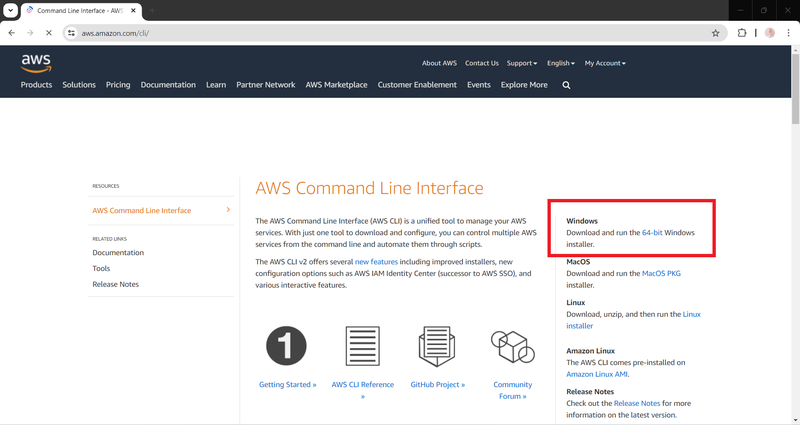
8. Download Page will be opened, to download the tool for Windows ; Choose Download and run the 64-bit Windows installer
9. AWS CLI tool will be downloaded on Windows, After the downloading. You need to Set up the tool on your windows
10. A setup page for AWS Command Line Interface V2 will appear, Follow installation steps until you finish installing it on Windows.
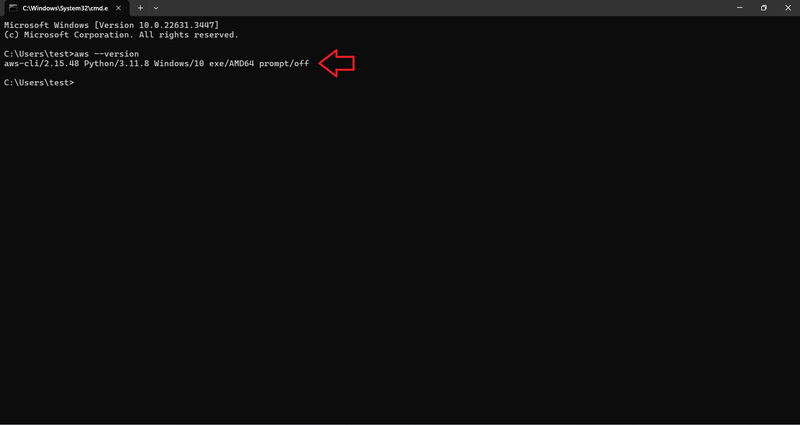
11. To ensure that AWS CLI tool is installed successfully on your Windows, Open Command Prompt from Start menu and type the following command line “aws --version”. The version of AWS CLI will appear, and this indicates that it’s installed successfully.
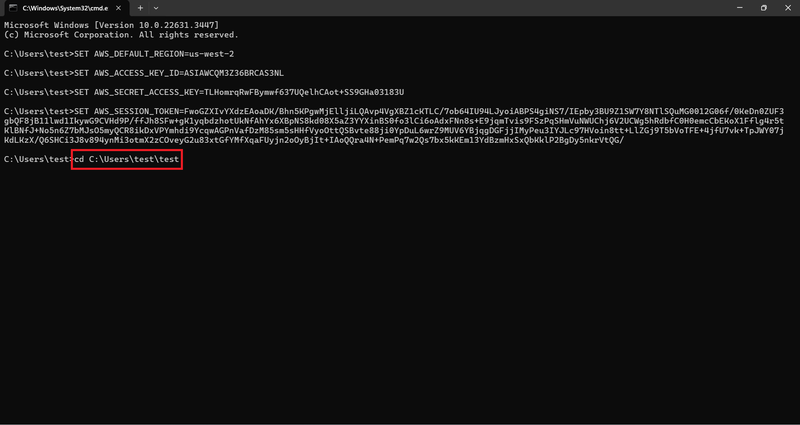
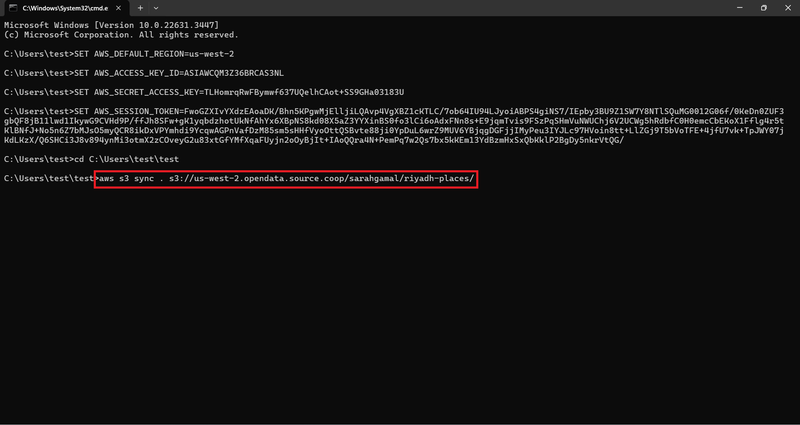
12. Set the environments variables to the generated credentials ; but use “SET” function instead of “export” for Windows
13. Then, create a folder for the GeoParuet to contain it, and drag and drop the folder in CMD after “cd” function.
14. Use this command instead of downloading the entire repository to the current directory, for uploading the GeoParquet file which is “riyadh-places.parquet” onto Source Cooperative.
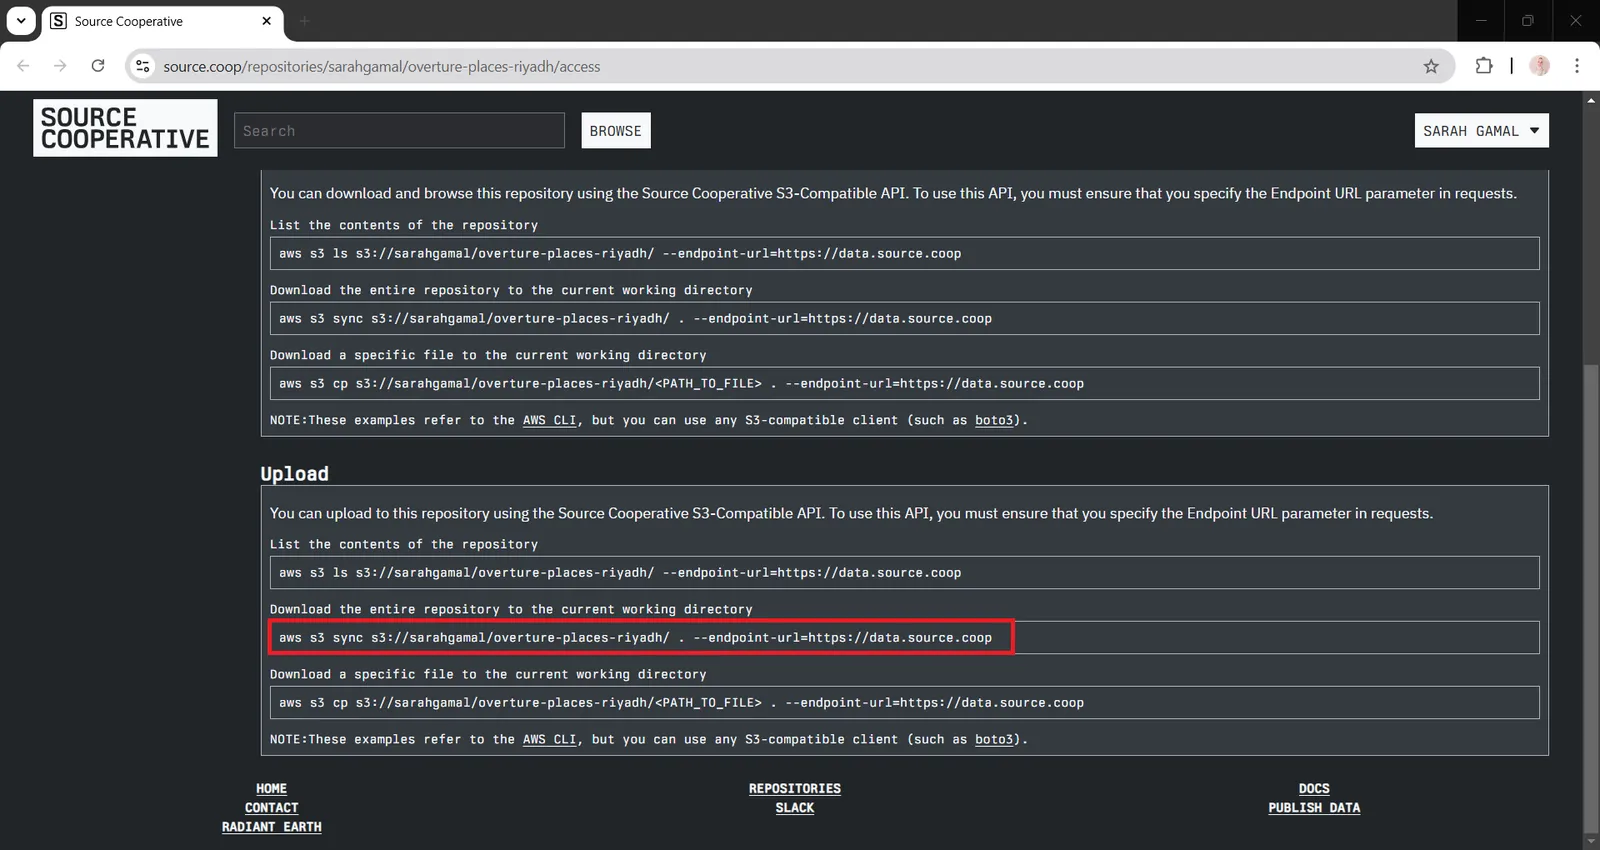
By removing the dot “.” from the end of the command line and writing it after “sync” word and a space before it.
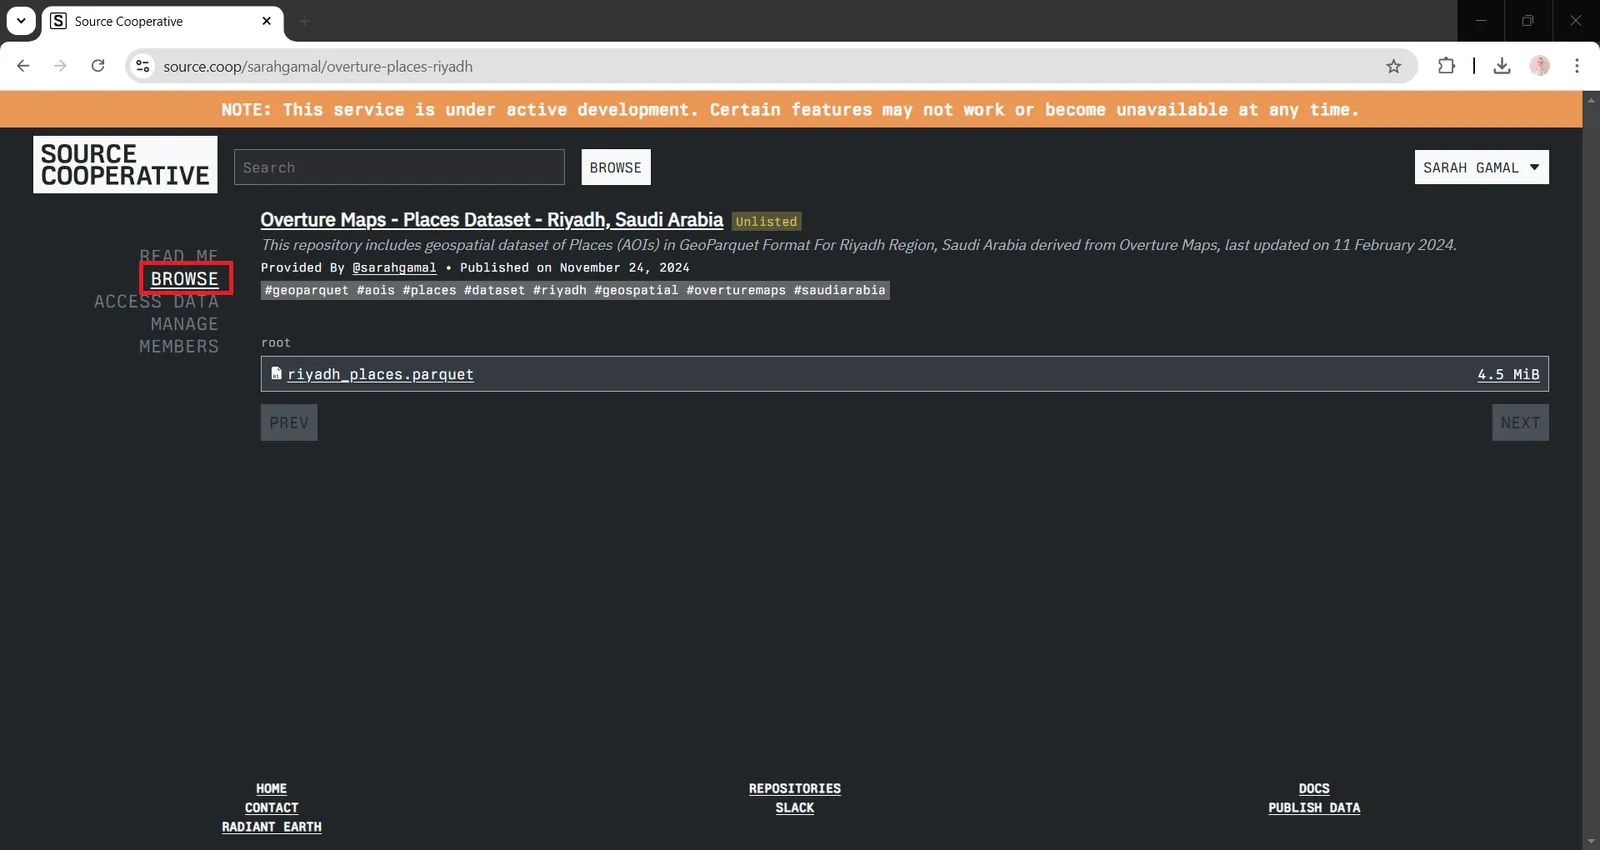
15. After running this command line, GeoParquet file will be uploaded successfully to your repository on Source Cooperative and you can check that by clicking on “Browse” in Side Menu, GeoParquet file will appear in root directory.
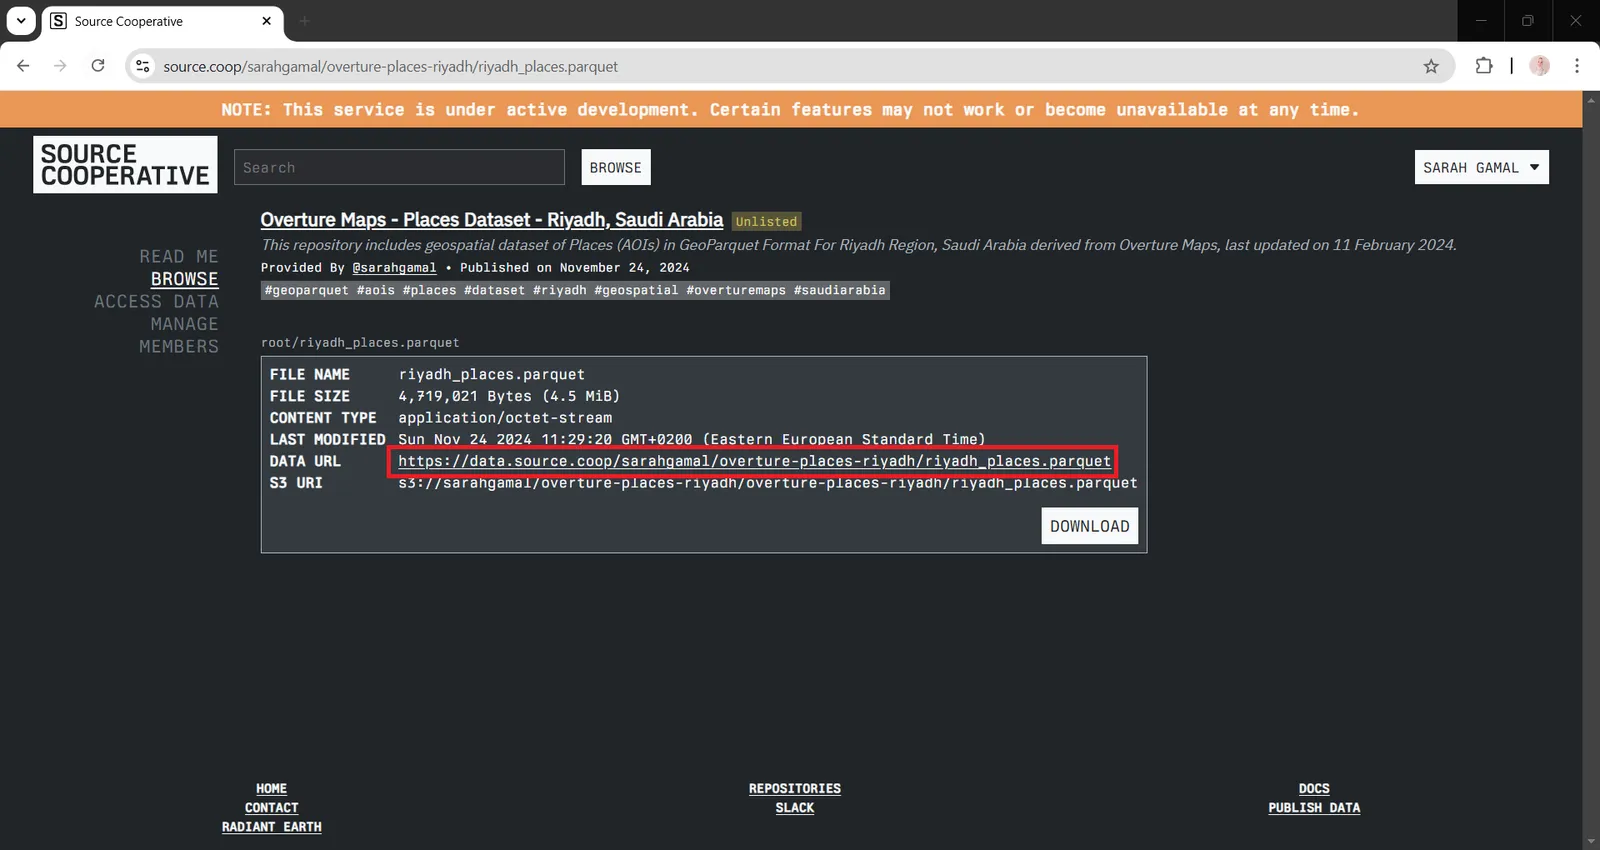
16. You can either download GeoParquet file or connect to it via shared URL.
By following this workflow, you were enabled to upload GeoParquet file to Source Cooperative Platform Succesfully
Congrats.